How to Make Clarified Butter or Ghee
Clarified butter and ghee are healthier alternatives to the usual butter. An essential ingredient in many recipes, it’s easy and versatile—a pantry staple for paleo and keto diets.
I wanted to try my hand at some Indian recipes and realized that several called for ghee. Not a problem because we use it in Africa, too. Though it’s similar to clarified butter, it does take a little longer. The extra cooking time adds a beautiful nutty flavor that goes great in spicy foods.
Since it’s basically a hands-off process, I decided to turn a whole pound of butter into ghee. Besides, it has a longer shelf life than butter, so I don’t have to worry about it going rancid before I use it. This is one of my most money-saving recipes.
Why Making Clarified Butter Is Practical
Have you seen how much they charge for a jar of ghee? Even in an Asian or Middle-Eastern ethnic market, it’s considerably more than the cost of butter. Making it is simple, and all you need is a saucepan, cheesecloth, and a wide-mouthed jar to store it in. You can save a lot of money with a little effort.
The same process makes both clarified butter and ghee. Simply melting butter and separating the milk solids doesn’t change the flavor of clarified butter much and is faster. Ghee, on the other hand, is cooked low and slow without stirring, so the milk solids toast on the bottom of the pan. That process infuses the melted butter with a deliciously toasty nuttiness and gives it a gorgeous golden color.
The Advantages of Homemade
Removing the milk solids from butter is helpful in several ways.
- Many people who are lactose-intolerant can still enjoy the buttery taste of clarified butter.
- It lasts longer than butter at room temperature (though I do keep mine in the fridge).
- It can take higher temperatures without burning. That makes frying fish and chicken even more delicious.
How to Make Clarified Butter and Ghee
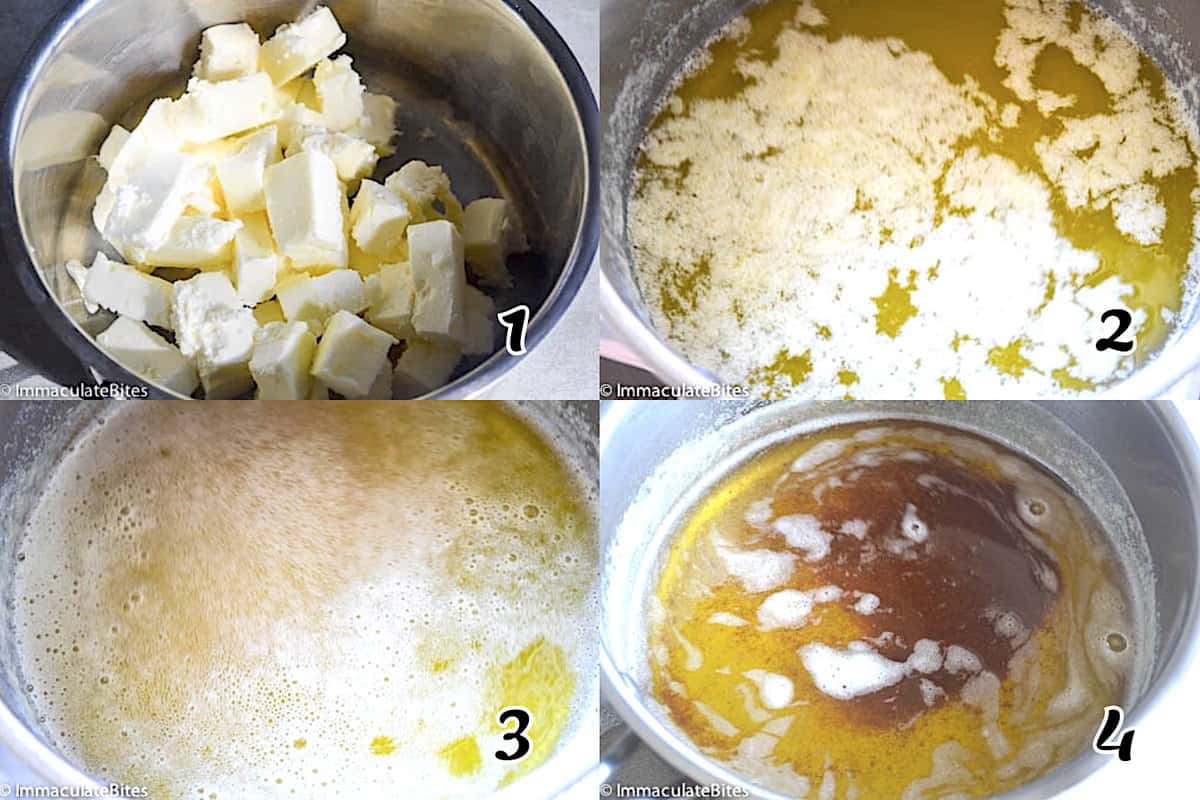
- Melt the butter in a medium saucepan over low heat. (Photo 1)
- Skim off the foam that rises to the top (though you can do it later). At this point, you can pour off the melted fat for clarified butter. For ghee, keep going. (Photo 2)
- Continue cooking on low heat for 10-15 minutes or until you see nice, toasty brown bits at the bottom of the saucepan. Remove it from the heat. (Photos 3-4)
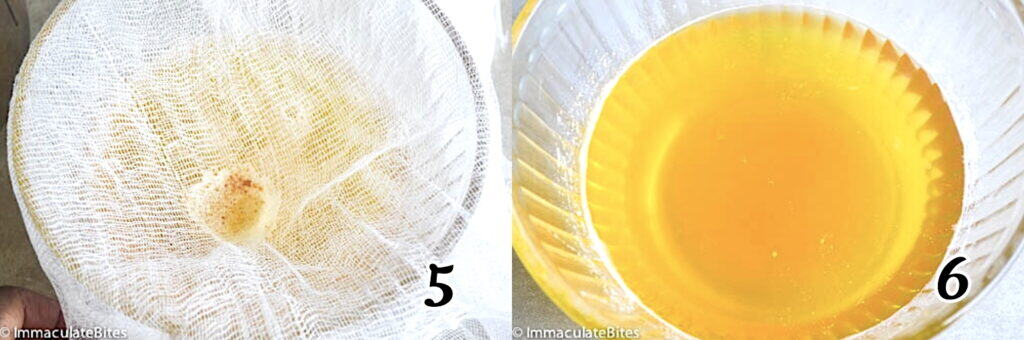
- Pour it through a cheesecloth or sieve to remove the milk solids. (Photo 5)
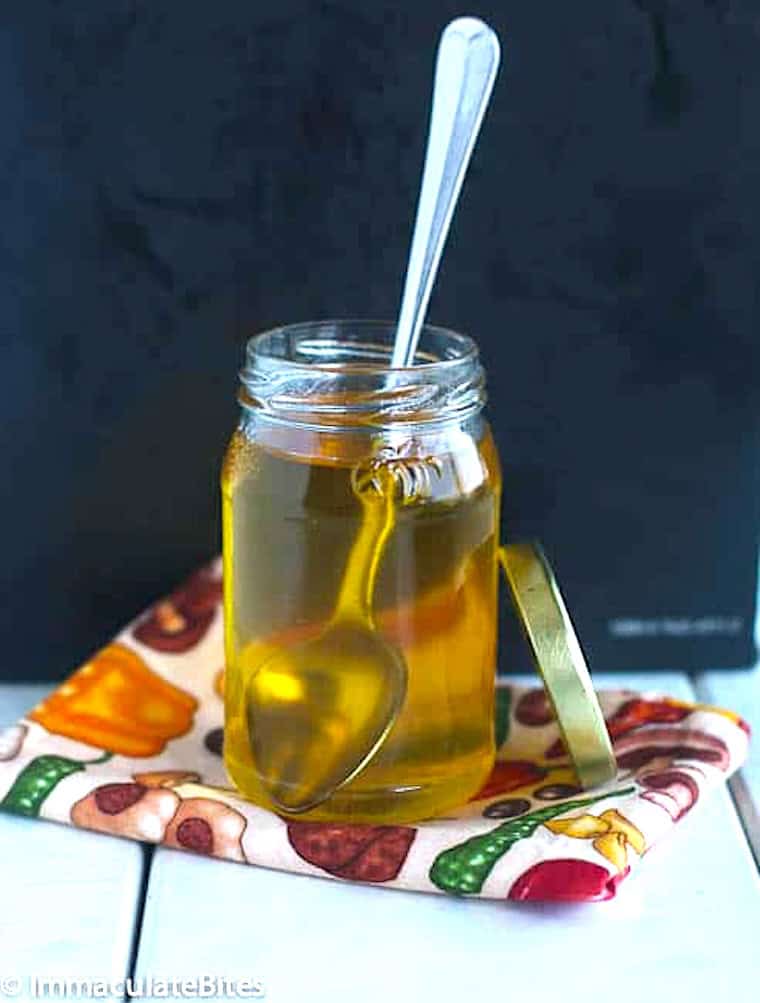
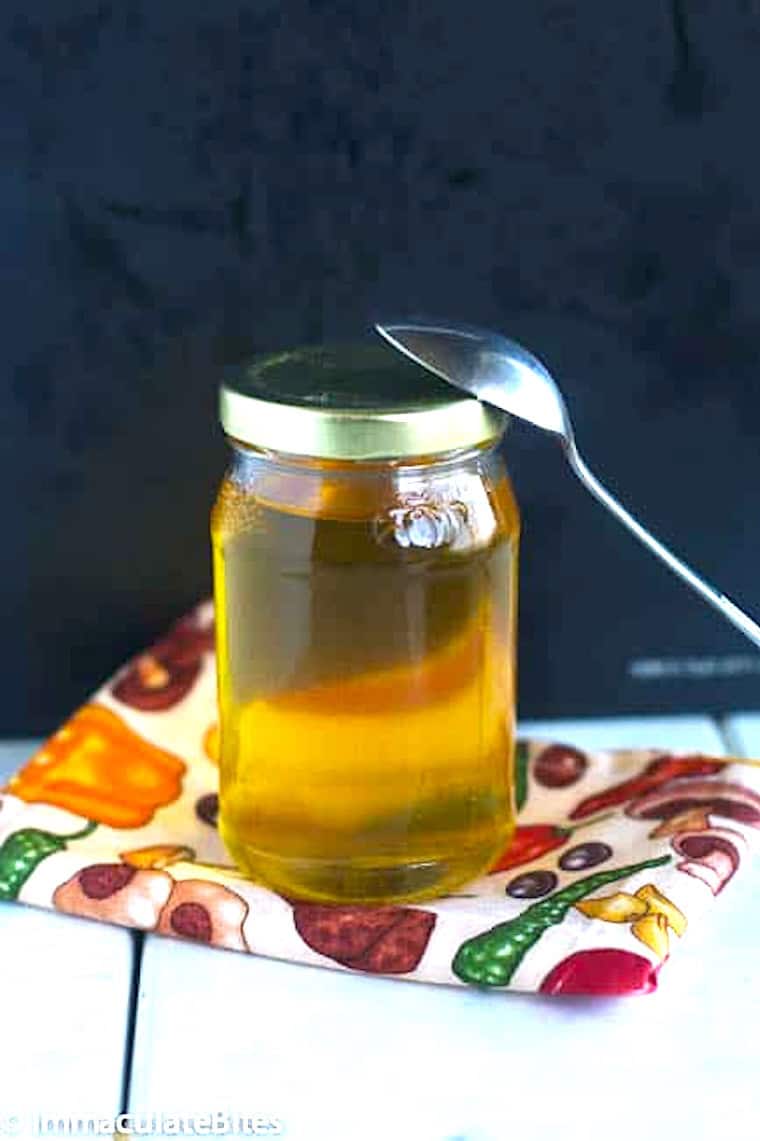
- Store in a glass jar at room temperature for up to 6 months. Cook with it as you would butter. Enjoy! (Photo 6)
Notes and Tips
- When making ghee, keep the temperature low, stir it when it has completely melted, skim off the foam, and then don’t stir it again.
- If making clarified butter, you can skip the longer simmering part. As soon as the butter has melted completely, let it sit for a minute or two so the milk solids settle to the bottom of the pan, then separate them by pouring off the melted fat. Sometimes, I pour it into a silicone mold and then chill it. After the fat solidifies, you can remove it from the mold and scrape the milk solids off.
- Organic butter is a better choice if you can swing it.
Recipes That Use Ghee
More Incredible DIY Recipes to Try
How to Make Clarified Butter
Ingredients
- 1-2 pounds (450-900g) unsalted organic butter
Instructions
- Melt the butter in a medium saucepan over low heat.
- Skim off the foam that rises to the top (though you can do it later). At this point, you can pour off the melted fat for clarified butter. For ghee, keep going.
- Continue cooking on low heat for 10-15 minutes or until you see nice, toasty brown bits at the bottom of the saucepan. Remove it from the heat.
- Pour it through a cheesecloth or sieve to remove the milk solids.
- Store in a glass jar at room temperature for up to 6 months. Cook with it as you would butter.
Tips & Notes:
- Keep the heat low to avoid burning the milk solids.
- Organic butter is the better choice if you can get it.
- Please remember that the nutritional information is a rough estimate and can vary significantly based on the products used in the recipe.