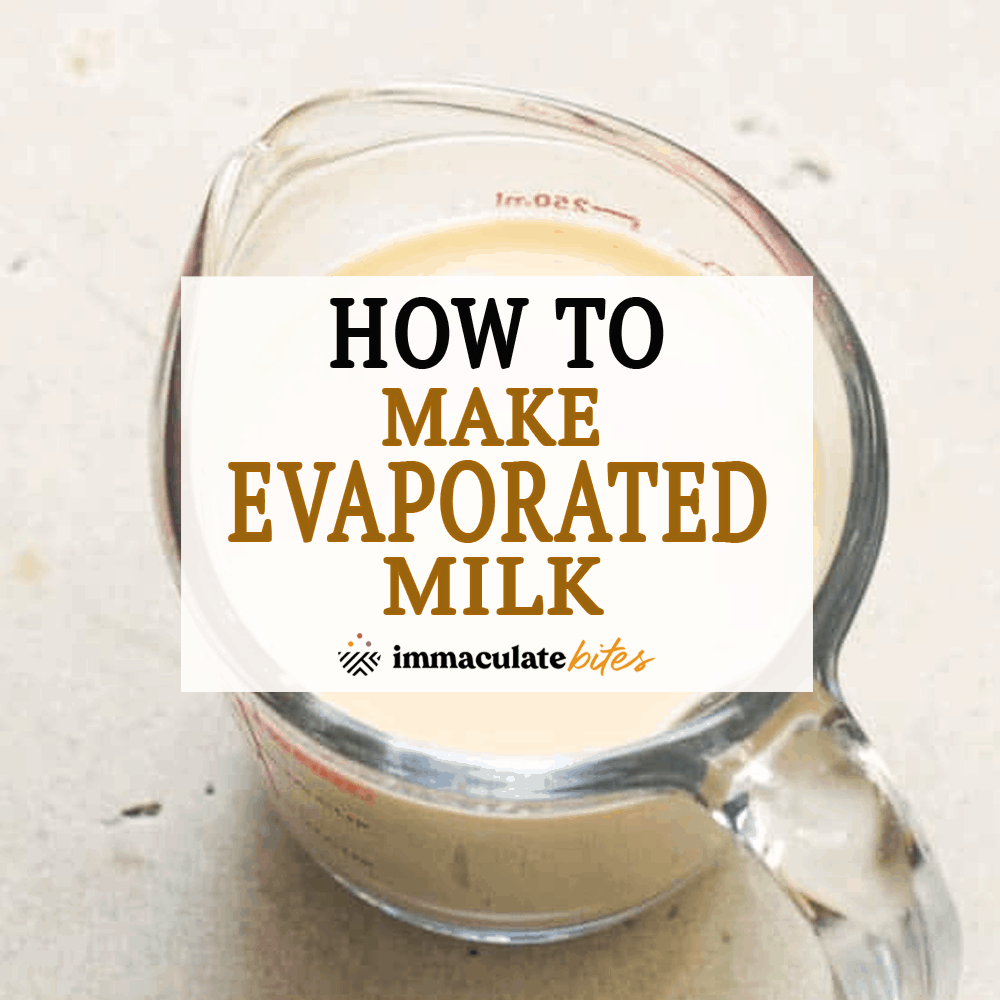
How to Make Evaporated Milk
Learning how to make evaporated milk is a creamy money-saver. Get that creamy texture and concentrated milk flavor so wonderful for smoothies, soups, and homemade ice cream. A lower-fat way of adding flavor made even better at home.
What Is Evaporated Milk?
Evaporating milk reduces the water content by 60% for thicker, creamier milk. The milk flavor intensifies, and since it’s whole milk and not heavy cream, it’s lower in fat. You can get regular, low-fat, and fat-free or unsweetened condensed milk.
Store-bought canned milk has a longer shelf life, making it ideal for emergencies, power outages, and camping trips. Of course, making it yourself gives you a higher quality product. And while not canned, it freezes well for a longer shelf life.
Evaporated Milk vs. Condensed Milk
The obvious similarity is that they’re all made from milk. Readers often ask me about the purpose of every ingredient I use in my recipes. These two ingredients are especially confusing: evaporated and condensed milk. Another question is if evaporated milk can replace heavy cream, and my answer, in most cases, is yes.
Both evaporated and condensed milk have had 60% of their water removed by evaporation. Using it as an alternative to regular milk in your recipe will add creaminess without excess liquid. The intensified texture also makes it a lower-fat replacement for heavy cream and half-and-half in soups and smoothies. Unfortunately, you can’t whip it, so you’ll need bonafide heavy cream for homemade whipped cream.
The main difference between condensed and evaporated milk is sugar. Of course, you can also make DIY condensed milk. If you love cream and sugar in your coffee, condensed milk is ideal. And if you only add cream, unsweetened evaporated milk is a great alternative.
How to Make Evaporated Milk
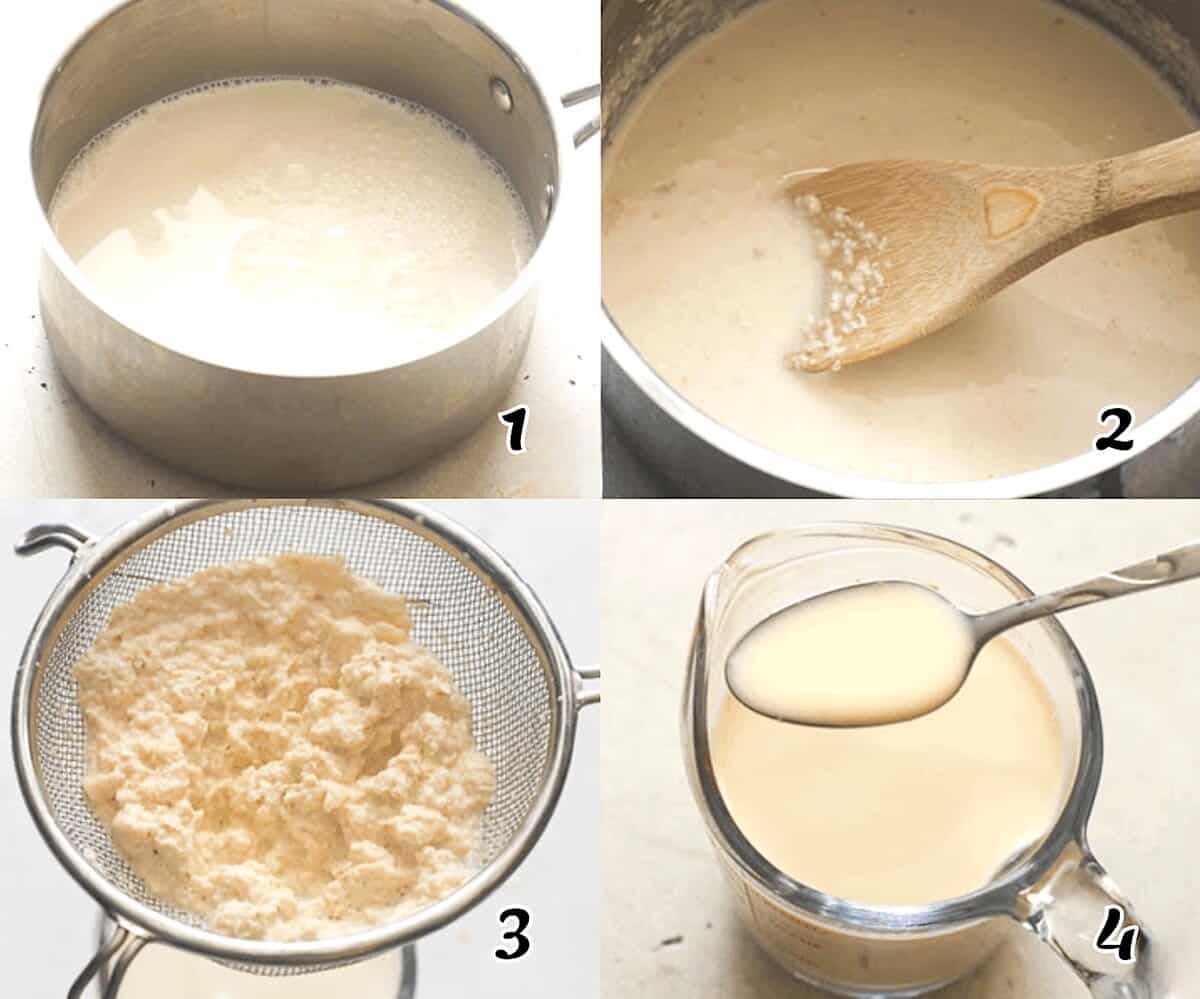
- Boil – Add milk to a wide, heavy-bottomed, non-stick pan to prevent milk residue from sticking at the bottom of the pan. Bring to a boil. (Photo 1)
- Cook – Lower the heat and simmer while stirring continuously. Stirring keeps the milk from forming a film and allows water to evaporate faster.
- Reduce – Simmer for about 1½ hours or until the milk has reduced to about ⅓ of the original volume. At this stage, the milk should be thick and look creamy. (Photo 2)
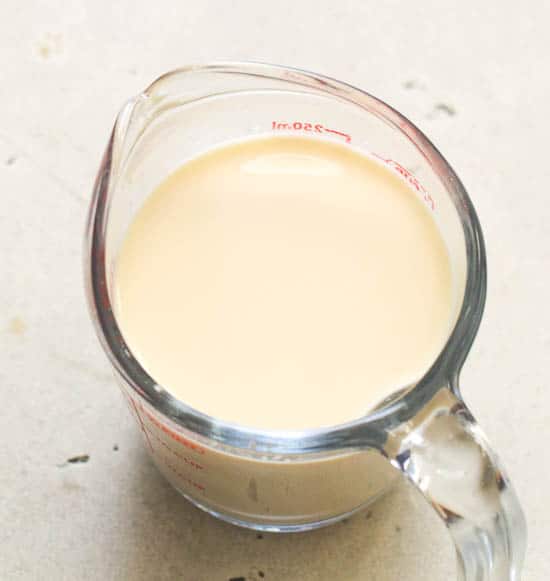
- Strain the milk through a fine strainer or cheesecloth, pressing to get as much through as possible (discard the lumps). You could puree it with the lumps in a blender for smooth milk. Pour it into a Mason jar and let it cool completely. (Photos 3-4)
- Store your homemade evaporated milk in an airtight container in the fridge for 4-5 days. You can also freeze it.

DIY Hacks
- Blitz it in a blender to eliminate the lumps if you want to skip straining.
- Fast evaporated milk with powdered milk: 3 tablespoons butter, 1 cup hot water, and 4 cups powdered milk mixed well. Though it’s not quite as good as whole milk, it will do in a pinch.
- Canned milk typically has additives such as emulsifiers for texture and preservatives. Making your own with organic milk from free-range cows gives you a higher quality product.
- Refrigerate leftovers in a jar for 4-5 days, or freeze it 5-6 months.
- If you use evaporated milk for coffee, freeze it in an ice cube tray for a longer shelf life, then pop the frozen cubes into a freezer ziplock bag. Add a cube to your steaming hot coffee to cool it down and add creamy goodness.
How to Use It
Add this delicious DIY evaporated milk to soups, smoothies, coffee, and even homemade ice cream! I’m going to give you a list of fantastic recipes that take advantage of its convenience.
More Money-Saving Kitchen How-To Recipes
Watch How to Make It
[adthrive-in-post-video-player video-id=”Ea30Sgq0″ upload-date=”2020-09-08T05:55:24.000Z” name=”How to Make Evaporated Milk” description=”Learn HOW TO MAKE EVAPORATED MILK on your own and achieve that distinct creamy taste, without the thickness and creaminess of a cream. Not just that, the process of making it is also a great way to prevent milk from spoilage! ” player-type=”collapse” override-embed=”false”]
How to Make Evaporated Milk
Ingredients
- 4 cups (950ml) whole milk
Instructions
- Pour the milk into a wide, heavy-bottomed, non-stick pan. Bring to a boil.
- Lower the heat to a simmer and cook while stirring continuously. You want to avoid it burning on the bottom of the pan and forming a film on top so the milk evaporates more quickly.
- Simmer for 1-1½ hours or until the milk reduces to about ⅓ of the original volume. At this stage, the milk should be thick and creamy.
- Strain the milk using a fine mesh strainer (optional) or eliminate lumps in a blender.
- Pour the milk into a mason jar and let it cool completely. Store in the refrigerator and use as desired.
Tips & Notes:
- Use organic milk from happy cows if possible
- Please remember that the nutritional information is a rough estimate and can vary significantly based on the products used in the recipe


hi, imma.
today l am making this recipe for evaporated milk. the recipe is ok, but what do you do with the remains of milk in the strain, when you sieve the milk? how do you use it?
l decided to make the chocoflan cake for the next weekend for the lunch with friends, so l need this recipe too.
thanks for your response, you have a great side her on net
renata
Hello. Thanks for trying out the recipe. You can discard what’s left in the strainer. But if you don’t care that your evaporated milk has lumps, you can skip straining it. Also I have choco flan recipe already on the blog, once you try I would love to hear about your experience with it.
We live in Switzerland which has abundant baked goodies but little access to fresh made donuts. My kids helped me make this recipe and it was fantastic. We topped them with the glaze, cinnamon and sugar, powdered sugar and then added chocolate to the glaze… they were so pleased with how they turned out. Now they are using their sugar rush to walk/deliver the leftover donuts to friends. Cooking not the dough is super sticky and you’ll be tempted to add flour… don’t they are perfect they way they are!
That is awesome and sounds yum! Thank you for sharing, Steph!
is it the same as condensed milk?
Hi Daniel! No, condensed milk is sweetened, evaporated milk has no sugar.
Loved the recipe will definitely try it
Great! Let me know how it works out for you.
Easy. Ambitious n requires patience though. Thanks for posting
Yes it does. But it pays off 🙂
Can’t wait to give this a try… been looking for this very recipe…!
I’m so excited for you to try this. Please do let me know how it works for you.
How do you know to keep the temperature under 100 Celsius to prevent denaturing the protein found in milk?
I just keep it on simmer or very low heat and stir frequently. It will produce bits of protein after the milk has been reduced down.Sift at the end . Don’t sweat it out.
Love the new website!
Thank you! It was quite a process. =)
Hi Imma, I make ideal milk by putting 2cups of cremora into 1 cup of boiling water. Works well.