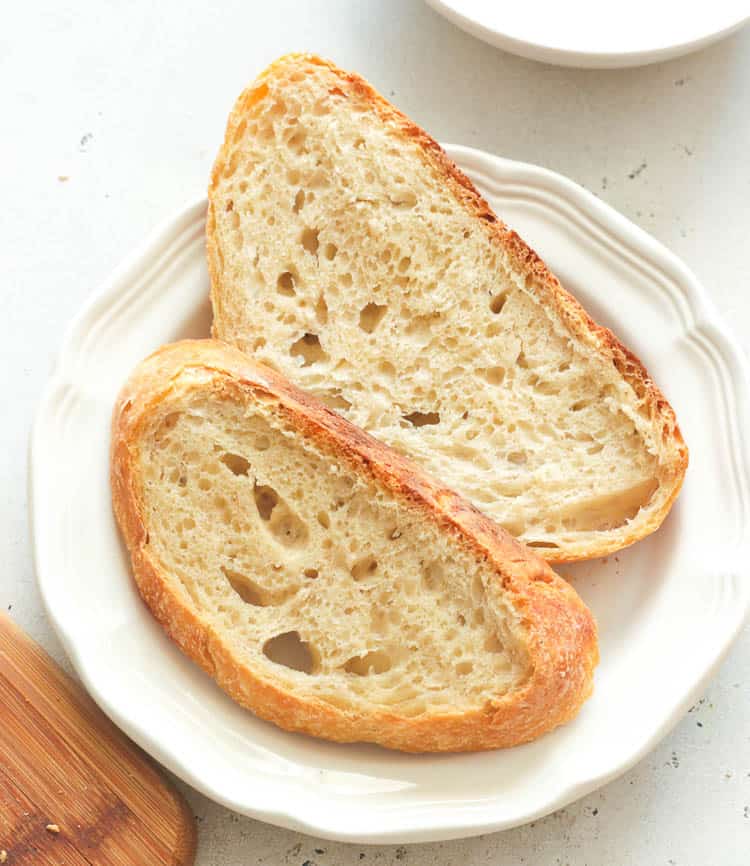
Effortlessly tasty and deliciously crusty and fluffy homemade bread that pairs well with different spreads. A Dutch oven-baked treat you can easily make with just F-I-V-E simple ingredients with no kneading involved. You won’t have to break a sweat with this fuss-free bread recipe!
As an all-around mom, I often have to juggle my time between my kid and making awesome recipes. Trust me, having a super energetic little boy isn’t an easy job especially when I crave homemade bread. Luckily, this recipe is an effortless alternative to traditional bread making.
This recipe takes away the need to focus on it so you can have more time with your kid. I honestly think everyone should know how to make this Dutch Oven No-Knead Bread so you can use your time more efficiently.
Happy baking!
How Does No Knead Bread Works?
Although this awesome method of bread making takes away the labor of kneading, it still takes a lot of time. This is because the dough needs to work on itself by resting and rising.
Yeast is commonly used to make the dough rise but there are other leavening agents that you can choose from.
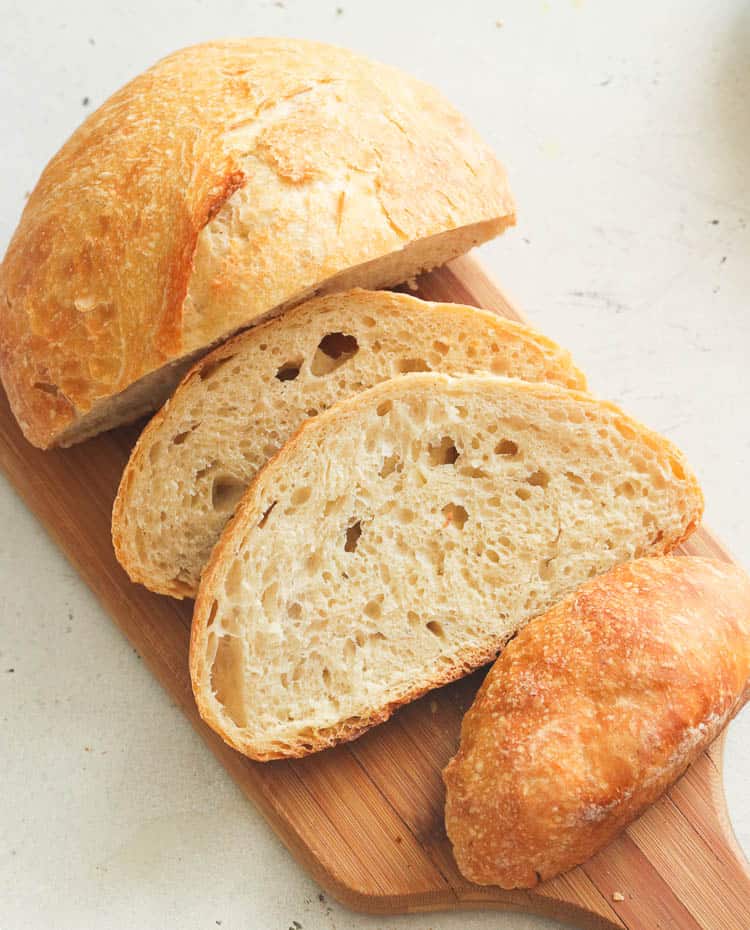
Fermentation or the activation of the yeast releases carbon dioxide in the mixture that kneads and forms the air pockets. These pockets both make the bread fluffy and works the dough as a whole.
Gluten is also formed during this process which gives the bread the texture we all know and love even without kneading it.
Recipe Ingredients
I wasn’t kidding when I said that that this is a super easy recipe. It only has a handful of ingredients, some of which might already be in your pantry. It’s similar to making regular bread with just a few adjustments in the proportion.
Here’s everything that you’ll need for this easy bread recipe.
- All-purpose flour
- Salt
- Active Dry Yeast
- Warm water (Yes! It needs to be warm and I’ll tell you why in a bit)
- Thyme or Rosemary
You might ask why there’s an herb (rosemary) in our recipe. Friends, it’s for flavor, aroma, and texture!
Also, using warm water hits two birds with one stone. Firstly, the flavor and aroma of the herbs are extracted easier with warm water. Secondly, the yeast’s reaction is faster with warmer water.
Recipe Variations and Alternatives
Gluten-free
Using gluten-free flour means we don’t have to knead the dough. The structure of the dough has little to no gluten which means the bubbles could pass through the dough easier. I suggest using almond flour or your choice of gluten-free flour.
No Yeast
I know some of you guys are allergic to yeast and that’s totally fine because we have a yeast-free version. Mix baking soda in the dry ingredients. Instead of warm water, use warm milk or mix lemon juice in the warm water to increase the liquid’s acidity.
The acid will activate the baking soda creating air bubbles. This method instantly puffs up your dough so you won’t have to wait for too long.
Common Questions In Making This Bread
Why is my bread so dense? It probably has too much flour. Remember that we need to have a moist mixture so that the dough is soft enough to expand. If the dough doesn’t have enough air it might result in a denser consistency.
What happens if you knead a no knead bread? You’ll have a sticky mess. The dough is intentionally sticky because we’ll be letting the air bubbles do the kneading for us. The stickiness comes from the moisture of the dough.
Do I need a Dutch oven for this? No, you can bake the dough directly in a parchment-lined baking pan. However, using a Dutch oven makes an even toasty crust round-shaped bread that you’ll definitely love.
How long can you let this kind of bread rise? 12 to 18 hours is the ideal rising time for this recipe.
Can you overproof this recipe? Yes, you can but I wouldn’t worry much about it if I were you. This recipe is super easy that it’s hard to mess up. So even if you let it rise for too long, you’d probably still have a nice final product.
What to Serve With This?
- Spreads are usually paired with bread but you’re gonna want to try this Beer Cheese Dip for a cheesier experience.
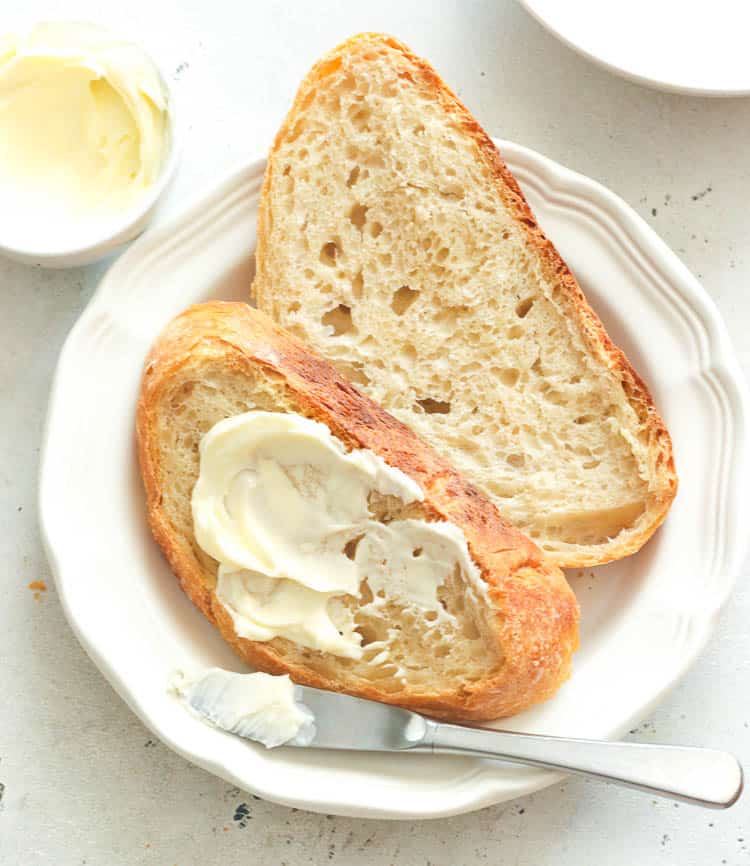
- Naturally, a good spread is perfect for this treat so this Garlic Butter perfectly pairs with the herby flavor of our bread recipe.
- Of course, we’re gonna have a meaty pick for this dish and this Brown Sugar Glazed Ham makes any day feel like a holiday for a sandwich.
- This Pimento Cheese isn’t just a great dip, but could also double up as a spread for bread.
Storage and Making Ahead Instructions
You can store your homemade No Knead Bread openly in a draft-free place away from moisture. This will give you a shelf life of about 3 days.
When storing this bread, it is important to note the following:
- These are lean bread that has little to no fat. This means that it has low preservative levels which are healthier but at the cost of shorter shelf life.
- The dough is stickier and moister than traditional bread. Make sure to place it in a clean container for proofing and cover it really well. We don’t want bacterial build-up.
- You can store the dough in the refrigerator for up to three to five days before baking.
- Do not use plastic to store this treat. You’ll trap the moisture inside which could lead to a mushy consistency and ultimately molds. Yikes!
More Easy Homemade Bread Recipes
How to Make No Knead Bread
Preparing the dough
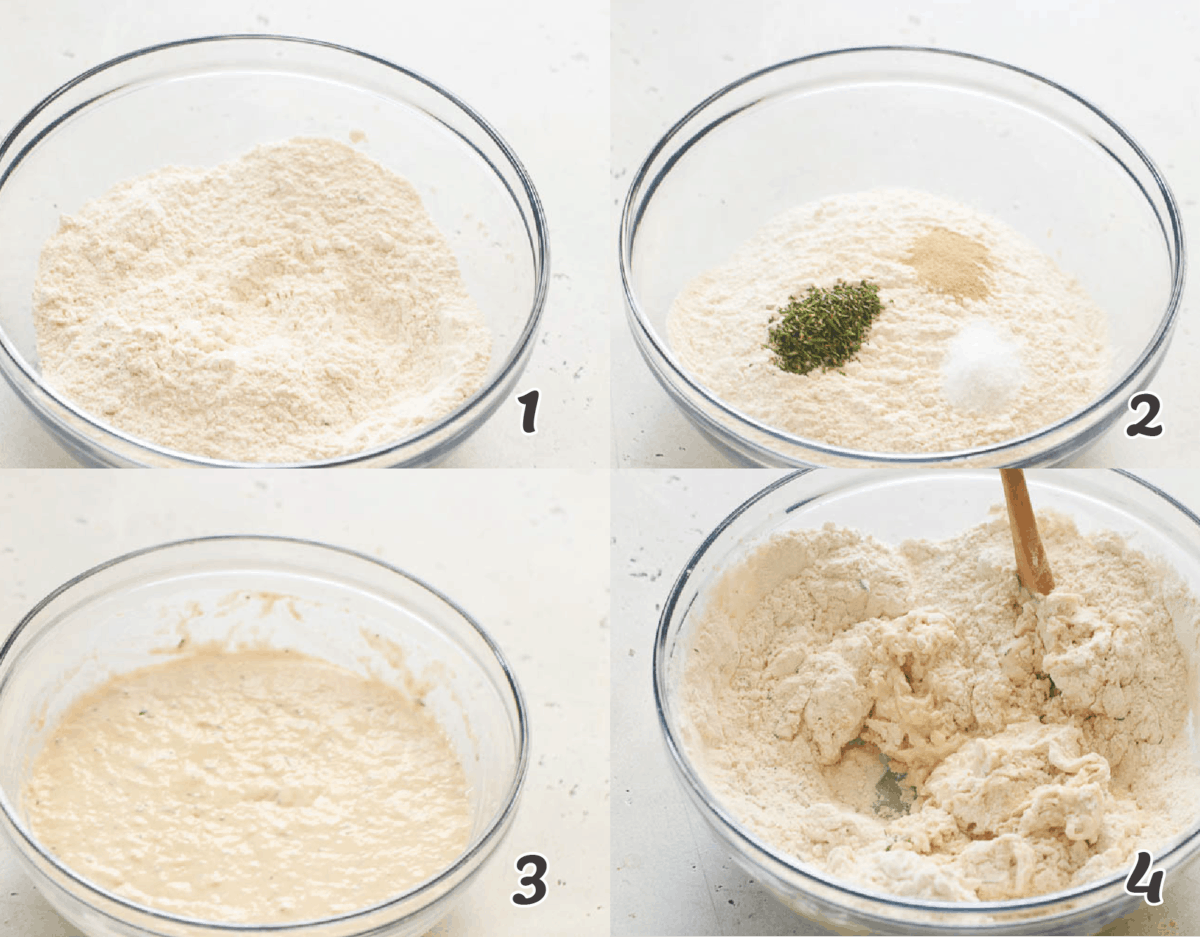
In a large bowl, mix together flour, salt, yeast, and herbs. Then add warm water and stir until all the ingredients have been thoroughly combined. The dough might be loose, messy, and sticky. Do not panic, it is ok.
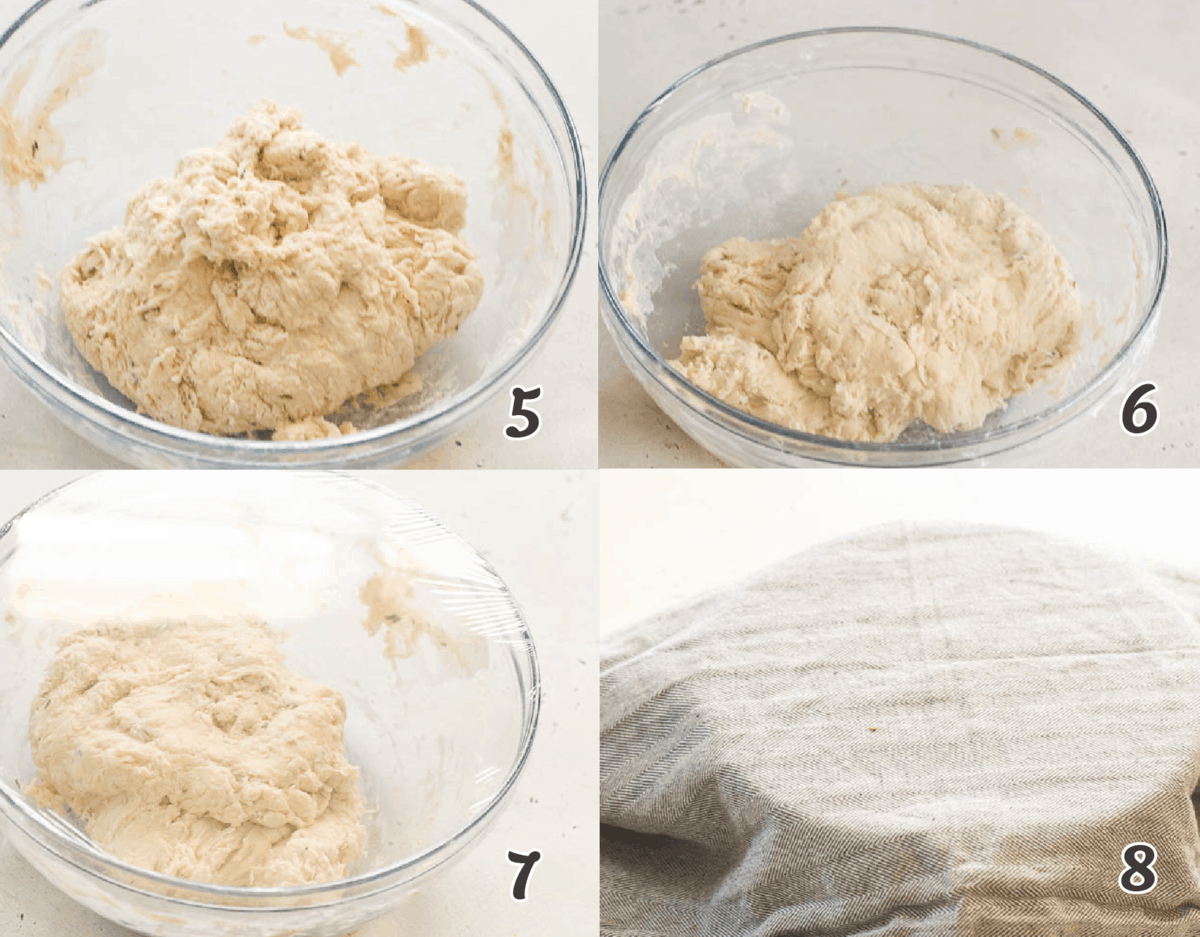
Use a plastic wrap to cover the batter for it to rise. Leave it out on the countertop and let it rest at room temperature for about 12 to 18 hours. This long fermentation process helps create the crusty and airy structure of the bread. The dough should double in size and have tiny bubbles all over it. Also, the longer it rests, the better the flavor and texture.
Baking the bread
Remove the dough and place it on a floured board. Form the dough into a round ball as much as possible, no worries if it is not perfect. If it sticks to the board, dust it with enough flour to scrape off. Then cover it with a plastic wrap and let it rest for another 20 minutes. Transfer the rested dough on parchment paper. Preheat the oven to 450 degrees F. Then place the Dutch oven in the oven to heat. Let it heat up for 20-30 minutes.
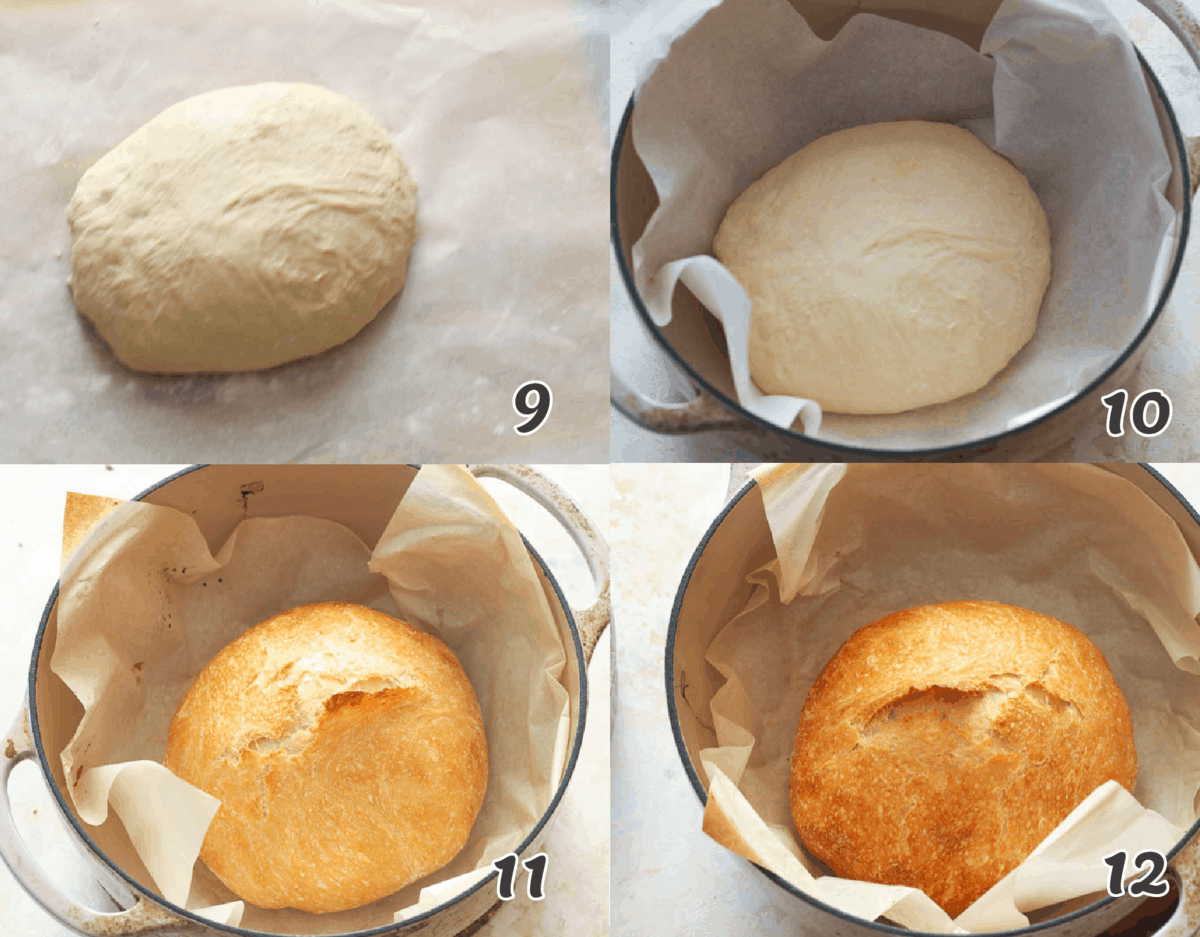
Very carefully use oven mitts to remove the Dutch oven from the oven. (It will be extremely hot – be careful!) Lift the edges of the parchment to carefully transfer the dough ball (along with the parchment) to the Dutch oven. Cover the Dutch oven with a lid and bake for 30 minutes. Then carefully remove the lid and bake for an additional 10-20 more minutes, or until the crust of the bread is brown or to your desired liking. Remove the pot from the oven, use oven gloves, and carefully remove the bread from the pot. Place on the cooling rack and let it cool slightly until you can slice it. Serve with a big bowl of soup or with butter and jam.
Watch How To Make It
[adthrive-in-post-video-player video-id=”Rm2uZAjF” upload-date=”2021-01-22T08:00:00.000Z” name=”No Knead Bread” description=”Effortlessly tasty and deliciously crusty NO KNEAD BREAD is your fluffy crowd-pleasing bread that pairs well with different spreads. An aromatic baked treat you can easily make with just F-I-V-E simple ingredients. You won’t even have to break a sweat with this fuss-free homemade bread!” player-type=”collapse” override-embed=”false”]

breadlover says
whats the longest rising time i can leave it for? i started making this at 12 pm and i dont want to bake it at 12 am
ImmaculateBites says
Hello there .
For no-knead bread, the flexibility in rising time is one of its great advantages. The typical initial rise for no-knead bread recipes is anywhere from 12 to 18 hours, with some variations allowing for up to 24 hours. This long fermentation period at room temperature helps develop the bread’s flavor and texture.
If you started your dough at 12 PM and don’t want to bake it at midnight, you have a couple of options:
Refrigerate the Dough: Once the dough has risen for about 12-18 hours at room temperature, you can slow down the fermentation process by placing it in the refrigerator. The cold environment slows down the yeast activity, meaning the dough can sit in the fridge for an additional 12-24 hours (and sometimes even longer) without over-proofing. Just remember to let it come back to room temperature for about 1-2 hours before shaping and baking.
Bake It Later: If the dough has already been out for a considerable time and you’re nearing the 18-24 hour mark, it’s still fine to put it in the refrigerator. The extended fermentation will only continue to enhance the bread’s flavor.
Shape and Second Rise: If you prefer, you can also shape the bread into its final form after the initial rise, then let it have its second rise in the fridge. This way, it’s ready to go straight into the oven after its final proofing period.
Remember, the key with no-knead bread is to watch the dough and not the clock. It should look bubbly and doubled in size. The colder temperature in the fridge will slow down the yeast activity, so don’t worry about the dough over-rising if you decide to refrigerate it. This method offers a lot of flexibility, making it perfect for fitting bread baking into a busy schedule. Enjoy your bread making!
Wedding Cakes in Calicut says
I kneaded this recipe so badly. Absolutely great it is
ImmaculateBites says
Thank you. I’m so glad I could help.
Priya says
Wow you have made this so simple .
Imma says
Thank you, . Stay tuned for more amazing recipes.
Priya says
Hey I liked your recipe. Is it fine to add white oil while making the dough along with the luke warm water?
Imma says
I’m not sure what you mean by white oil. Maybe a neutral flavored oil or lard? I’ve never tried it, and it would change the amount of flour you need. If you decide to experiment, please let me know how much flour you had to add to make up for the difference,:pray:
Sarah says
Hi! I would really like to make this bread, but I don’t have a dutch oven. Do you think it would be possible to use a pyrex bowl? Thank you!
imma africanbites says
Hi, Sarah. I haven’t tried baking it using a pyrex bowl, but I don’t see why it won’t work. You can also bake the dough directly in a parchment-lined baking pan. Hope this helps.
Priyanka says
Tempting images!! lovely!!! https://www.chefbakers.com/bangalore/
FRIEDA KUSHER says
how is this baked on a cookie sheet I would like to bake it
imma africanbites says
Hello, Frieda. To bake this No Knead Bread on a sheet pan, form the bread into a round loaf or longer loaves. Let them rest for 20 minutes as per step #4. Then transfer it to a greased sheet pan. Preheat the oven to 450 F. After the oven preheats, add 3 cups of very hot water into a metal or cast iron baking pan/dish and place it at the bottom oven rack. Then place the baking sheet with the dough on the middle oven rack. Shut the oven door immediately to trap the steam from the water (this will help us achieve that nice crust) and bake for 25-30 minutes.
Paul Raymond Lucas says
Are you correct in your carb count? One slice of no knead bread at 68 grams seems unusually high. Thanks.
imma africanbites says
Hi, Paul. This nutritional information is provided as a courtesy and is an estimate only. We strive to keep the information as accurate as possible but make no warranties regarding its accuracy since nutrition information can vary for a recipe based on several factors such as ingredient brands and measurements. We encourage our readers tho to make their own calculations based on the actual ingredients used in their recipe using their preferred nutrition calculator. Thank you.