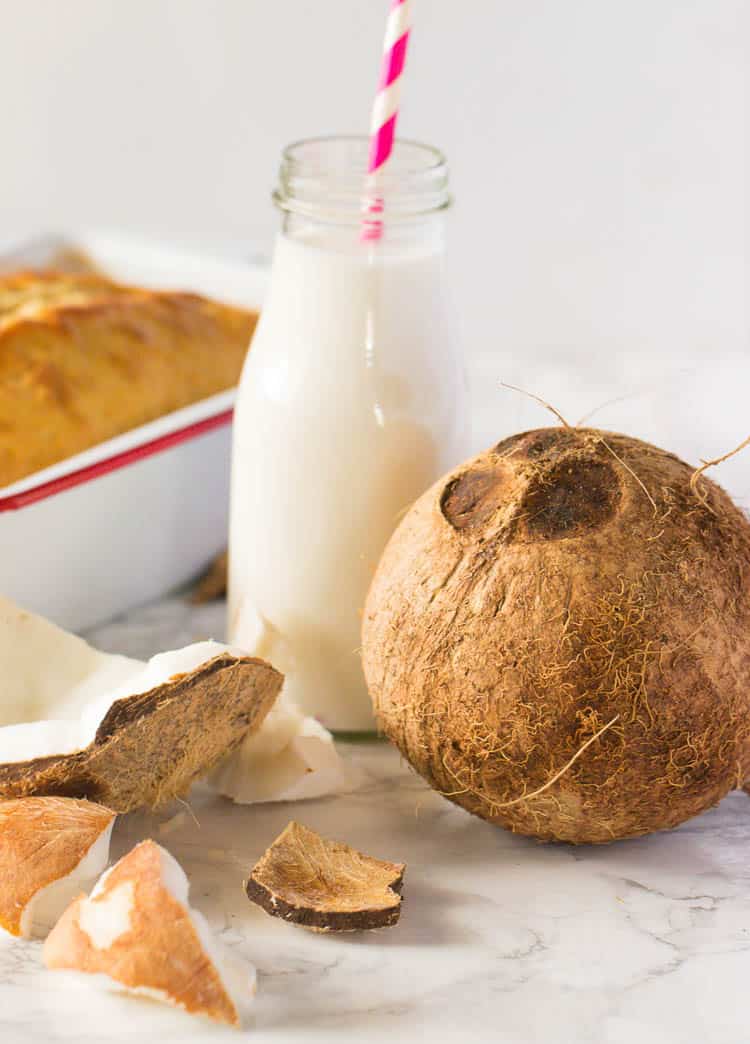
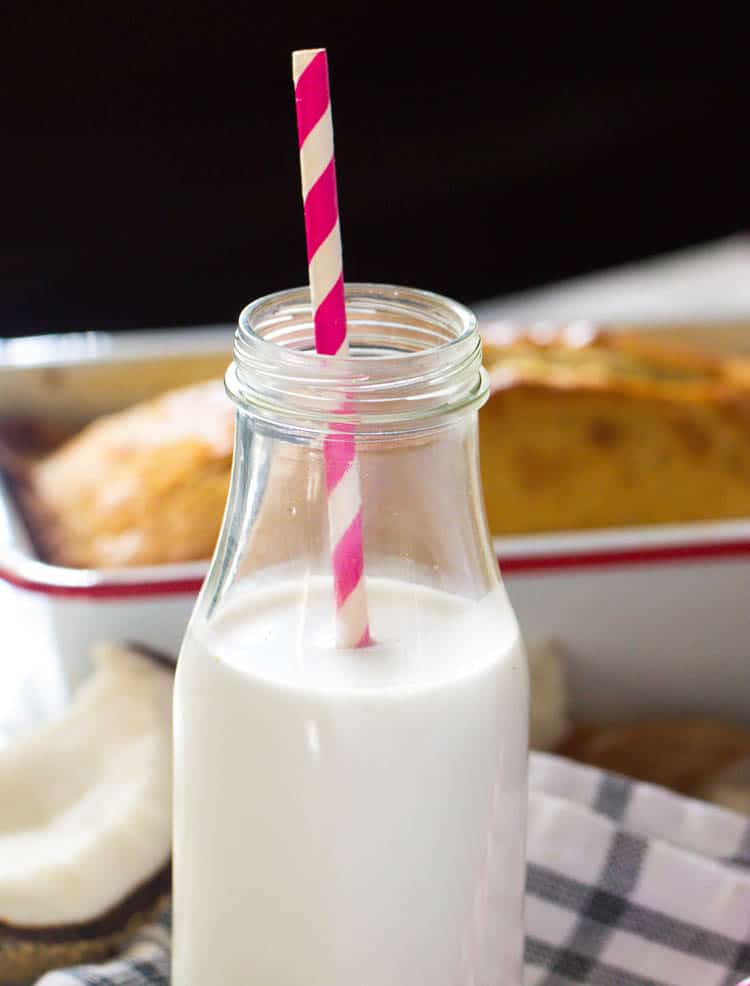
Homemade Coconut Milk
Making homemade coconut milk is a creamy, easy, and dairy-free DIY. Plus, you can make this versatile plant-based ingredient from fresh coconut OR coconut flakes. An excellent addition to soups, stews, curries, smoothies, and baked goods. Fresh with rich taste and very versatile!

Are you feeling adventurous and wanting tropical vibes for your curry? Or maybe you’re looking for an alternative to dairy without sacrificing that creamy texture. Then this recipe is what you’re looking for.
I started making coconut milk for my family when I was about 12 years old because they love coconut rice. Oh, how I dreaded this process. We had to crack open the coconuts and grate them. Needless to say, it’s NOT one of my favorite things to do. So as an adult, I completely wiped out this process from my memory, resorting to canned coconut milk for all my cooking and baking needs.
Why DIY Is Best
But our past seems to haunt us on the most odd occasions. As I was opening a carton of coconut milk, I casually glanced at the ingredients. Seriously? Emulsifiers and thickening agents are a red flag for me because this stuff is perfect as is. And so I went back to my roots and started making my own coconut milk again. That’s not to say I don’t take a shortcut once in a while with an organic version from the store.
How to Make Coconut Milk
Here’s how we usually do it back in Cameroon.
- Crack open the coconut using the blunt side of a cleaver or hammer, and then split it into two. (Drain the coconut water first for a refreshing electrolyte drink.)
- Coconut – You can manually carve the coconut meat from the shell OR bake it in a 350℉ (180 ℃) oven for about 10 minutes to loosen the flesh from the shell.
- Chop the coconut meat, add water, and blend until a fine, smooth consistency.
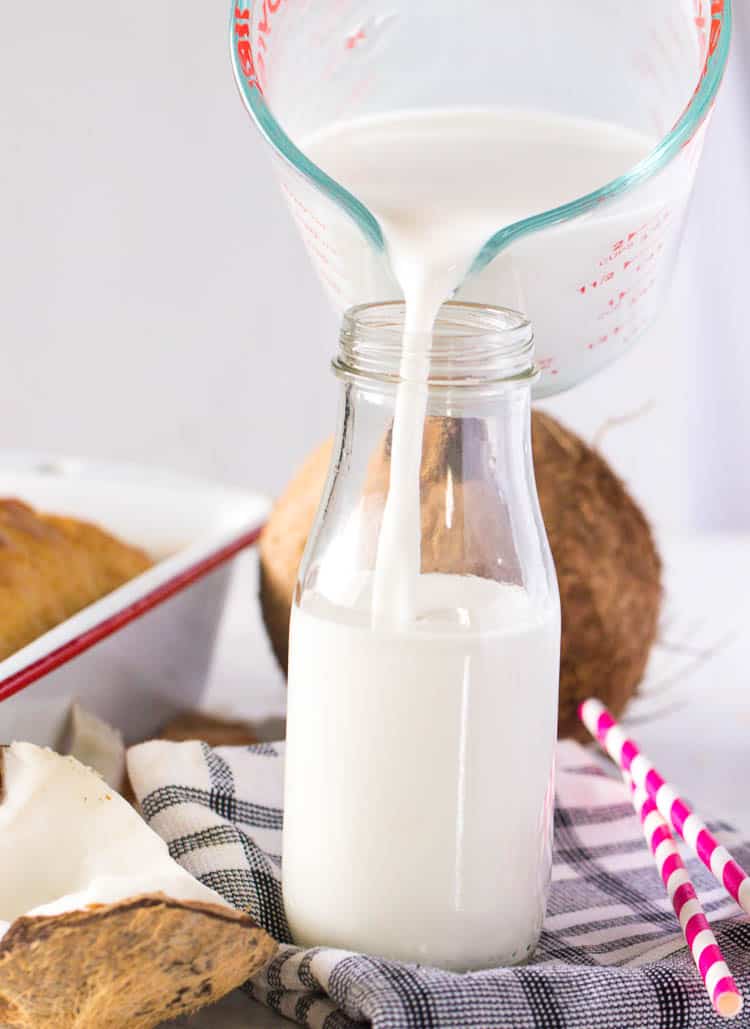
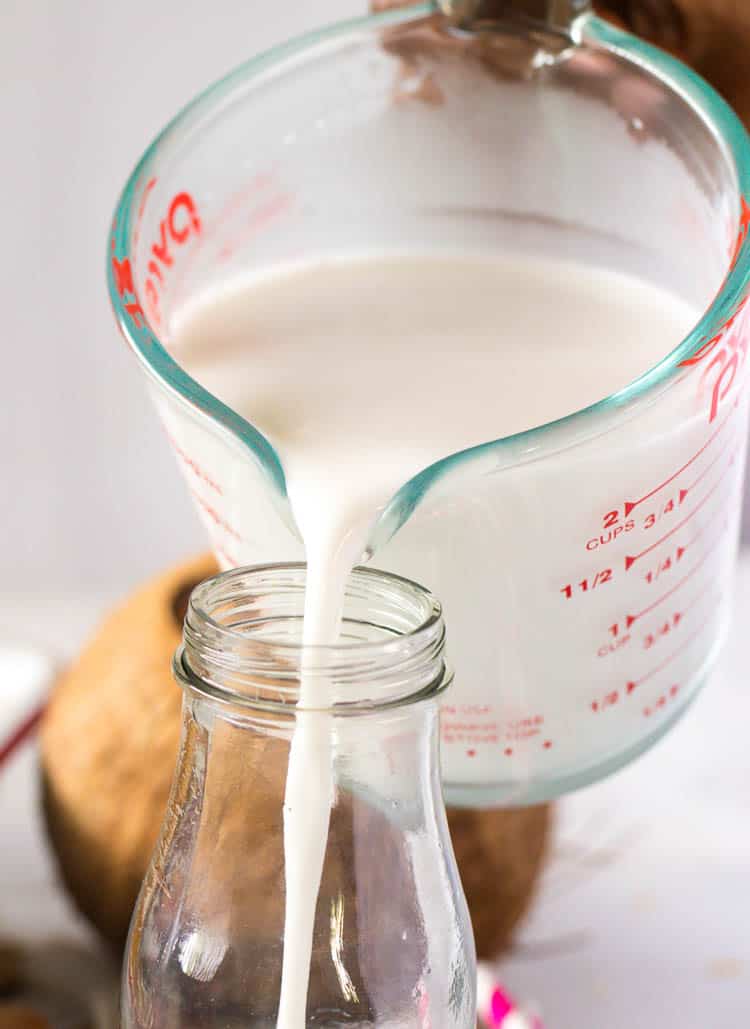
- Strain it through a cheesecloth or nut milk bag. Squeeze hard to extract all the milk possible. And there you go!
Tips and Tricks
- Please don’t waste the pulp because you can dry it and use it for flour. Or use it straightaway in a recipe without bothering to dehydrate it.
- If you want cream, pour the milk into a quart-sized glass jar and refrigerate it for several hours (overnight is good). The cold will help the cream rise and solidify it, making it easier to separate.
Make-Ahead and Storage Instructions
Make a big batch to save on cleanup; you’ll make as big a mess for a quart as you will for a gallon. Besides, it freezes well and will last in the fridge for a week or longer.
Delicious Recipes That Call for Coconut Milk
More Amazing DIY Recipes
Watch How to Make It
[adthrive-in-post-video-player video-id=”ONIMrOfL” upload-date=”2019-11-12T03:13:16.000Z” name=”Homemade Coconut Milk” description=”Homemade Coconut Flour and Milk – homemade coconut milk and flour made from fresh coconut OR coconut flakes. Fresh, tasty and so versatile!”]
This blog post was originally published in January 2020 and has been updated with additional tips, new photos, and a video.
Homemade Coconut Milk
Ingredients
Fresh Coconut
- 1 coconut (use more coconuts for more milk)
- 1½-2 cups (350-470ml) water (see notes)
Coconut Flakes
- 2 cups (120g) coconut flakes (see notes)
- 4 cups (940ml) hot water
Instructions
Fresh Coconut
- Hit the middle of a coconut hard with the blunt side of a cleaver or hammer, just enough to crack it. Drain the water for later. Rotate the coconut, continuing to hit it at the center with the hammer or cleaver. It will eventually split in half at the center.
- Place it in a 350℉ (180℃) oven for about 10 minutes to facilitate the removal of the flesh from the shell. Let it cool. Remove the coconut from the shell with a sturdy spoon.
- Using a sharp knife or a potato peeler, peel the skin off the coconut, or you can chop it without peeling.
Coconut Flakes
- Soak the coconut flakes in hot water for 2-4 hours (the ratio of coconut to water is one cup of coconut flakes and two cups of water).
- Blend coconut in a blender (a Blendtec or Vitamix does a better job) on high until smooth.
- Strain the coconut mixture with a cheesecloth or nut bag. Squeeze really tight to extract all the milk. Save the milk and use the pulp as you would coconut flour.
Tips & Notes:
- Start with less water and add more for the desired consistency. You can always add more, but you can’t take it back out.
- Dessicated coconut sometimes has a lower fat content and may result in less flavorful milk. Coconut flakes tend to be less processed for a richer flavor.
- Use hot water to soften the fat in coconut flakes for easier blending.
- Please keep in mind that nutritional information is a rough estimate and can vary considerably based on the ingredients used.
Nutrition Information:


What brand of store bought coconut milk do you suggest? I’ve never bought coconut milk and in reading reviews for various brands, I’m still unsure which is best canned version. I’m also wondering if refrigerated, such as Silk coconut milk, is ok to use or is canned necessary for cooking?
If you don’t want to make your own coconut milk, there are several brands that are good. I like organic Thai Kitchen for canned. So Delicious and Silk are fine, too. The reason I prefer canned is that it usually has a stronger coconut flavor, while refrigerated milk brands sometimes aren’t as coconutty. But any of them will work 🙂
This turned out amazing.
Yay!!! Thank you so much for your feedback.
So so easy to make. Have been making it since I watched the video almost every week.
Please what do we do with the flakes after you get your milk. Is it useful?
Also, leaving in the oven for 10 mins, the brown skin does not remove like yours. I have to use knife to peel off again. Is their something I am doing wrong?
How long can u preserve the milk?
It will last about a week. But you can freeze it, too.
Will be making this! I do see many reviewers speaking about you coconut flour recipe, but I don’t see that here or when I search your site. Can you provide a link to it?
Hi Kira,
I don’t have the coconut flour recipe up because it’s so easy. You simply dehydrate the coconut pulp after straining the milk.
Thanks a lot. I normally make my coconut milk the same way but little did I know that I can make my own coconut flour coconut from the left over pulp which will normally through away after squeezing the milk. Thanks a lot.
You’re most welcome, Bridget! Thanks for dropping by.
Hello, thank you for sharing this useful information, I can’t wait to try it! I am just wondering roughly how much milk and flour can you make using one Coconut?
An average size coconut makes about 2 cups of milk (more of a cream), but you can dilute even further depending on preference. It makes roughly about 2 cups of flour.
Hey! I just made this with shredded coconut! I got my remains in the oven now and the milk is in the fridge. Question.. the milk has seperated, is this normal? It’s clear at the bottom and generally it doesn’t have much of a coconutty flavor. Is this normal? Thank for the recipe!
Hi, Nicole. Yes, it is normal for the milk to separate. I always shake it before using. However, the water that separates has a mild coconut flavor (not too over powering), and the cream that rises to the top with have a stronger flavor. Hope this helps!
I thank you immensely for this post! I am just out of school and am on a tight financial budget. I have long stocked coconut flakes in my pantry for regular use along with canned coconut milk, and never new the process of making coconut milk and flour. I followed your instructions literally the moment after I read this post and the coconut milk tastes divine. Coconut flour is desiccating in the oven as we speak. Thank you again!
You show cheese cloth in the photos but I don’t see anything in the instructions regarding cheese cloth.
recipe updated . Thanks.
Natalie, sorry about the confusion ,store-bought coconut flakes do not need to be dehydrated before soaking it in water. After squeezing the milk from the coconut flakes then you dehydrate, if you want to make coconut flour. Hope this helps
Does the store bought coconut flakes still need to be dehydrated before you can make the milk? I am more interested in the milk than the flour and I am wondering why you would dehydrate the ground pulp just to soak it in water? Maybe I don’t understand the instructions. I am eager to try this, but the instructions don’t match the pictures.
Hi Natalie. You soak the coconut in hot water to soften it for blending. After straining the milk, you dehydrate the pulp for flour. You could also use it in recipes while still moist, but you’d need to adjust the amount of liquid in your recipe. Hope that helps.
I am new making my own Coconut milk, did it today. But I bought shreded Coconut, is Shreded Coconut ok, shreded and dehydrated. Milk test pretty good, put 1 teaspoon Vanilla extract in it
When I am brave enough I will try the real coconut
Yes. You can totally use shredded coconut. You’ll want to use unsweetened coconut for milk.
Do you think the coconut flour will turn out finer if you blend it in the vitamix?
I’ve never tried blending coconut using a Vitamix. However, my Blendtec is just as powerful, and while it does yield a finer grind, it’s never like commercial coconut flour. Thanks for stopping by!
Update: I ran the flour through the blender again after drying it and it did turn out finer.
I’ve just run into your website. I really needed to learn how to make coconut/flour/milk/oilsince it’s not available in my country.
Thank you for sharing
Cheers from Argentina!
Ma Elisa, no coconut milk tastes better than homemade. You will truly enjoy it. Let me know if you have any questions.
I always have a really hard time getting the coconut free from its shell, even with the oven trick. I tried it when another recipe recommended it, and it didn’t separate easily so I ended up leaving it in longer. Prolonged cooking weakens the coconut taste, and I still had trouble with the shell. Any thoughts on this? Your recipe looks great, by the way. I love the pictures.
Sarah, there is a tool for removing coconut “The Coconut Tool Stainless Steel Coconut Meat Removal Knife” available on Amazon that does a good job removing coconut. You may want to try it. Thanks for stopping by.
I taste any can of coconut milk I open and pretty much all of them do not get a second taste. Canned just does not compare to fresh. And if it is not obvious, making coconut milk yogurt from a can of icky tasting coconut milk = yucky yogurt. I made that mistake once and then I had a quart of throwaway yogurt because nobody would eat it.
How do you make it flour without it turning into butter?
I dehydrated my coconut for 2 hours and it got pretty dry, but when I put it in my grinder it started turning into butter.
Is homemade flour grainier than the store-bought stuff?
Cristina, make sure to use desiccated coconut, and that it’s completely dried before grinding it. Whole fat coconut will turn into butter. I make milk from the whole fat coconut, then dehydrate the pulp to make flour for a twofer.
Please keep in mind that you won’t get the same texture as store-bought coconut flour. Homemade coconut flour is definitely grainier. Let me know if you have any more questions.