Red Velvet Cake
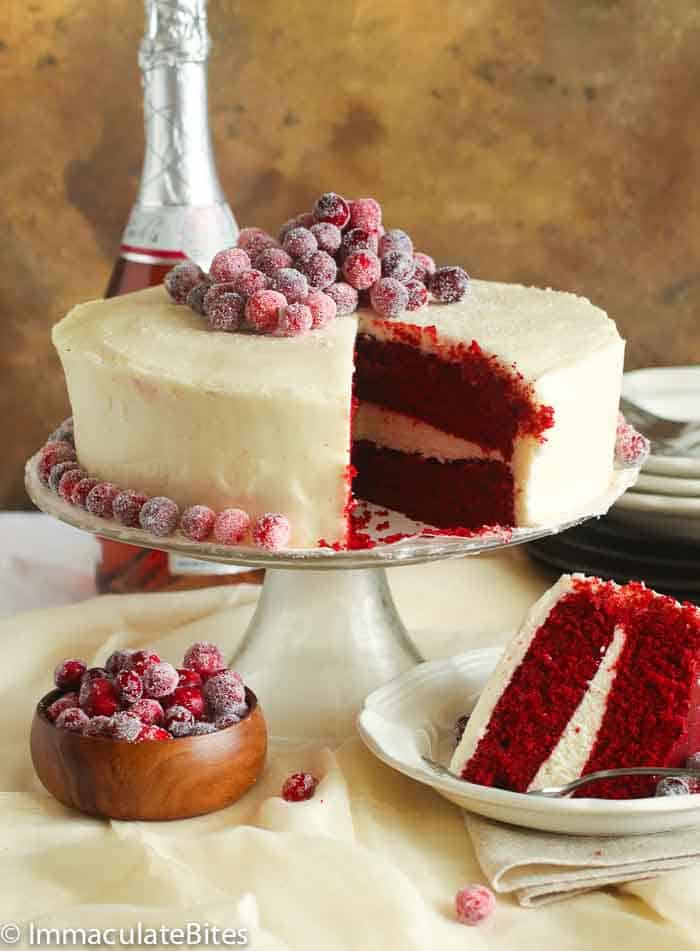
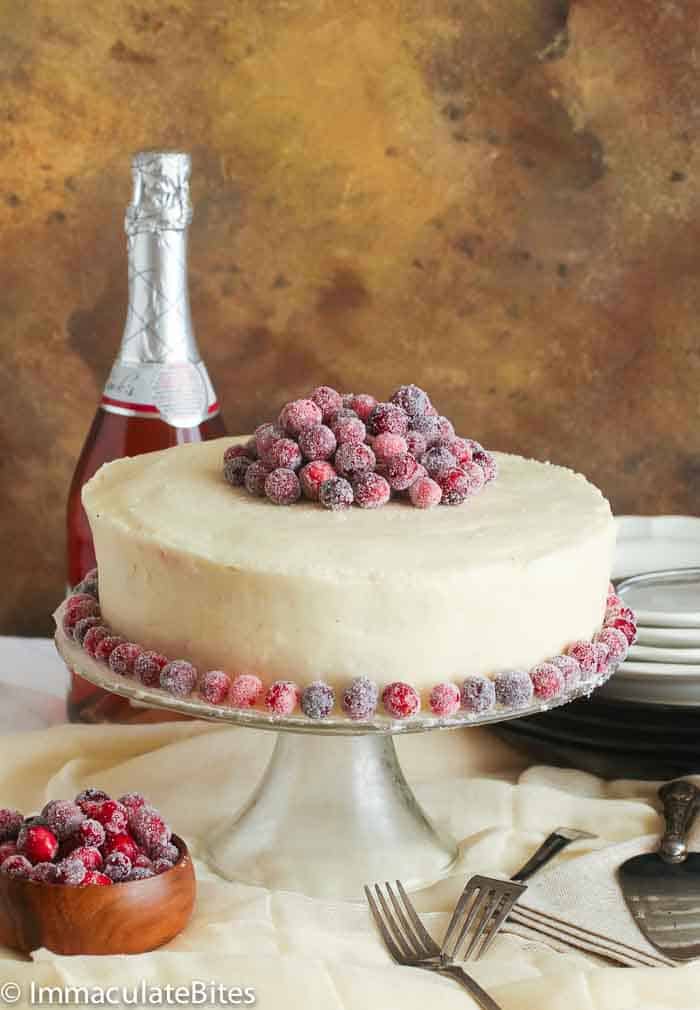
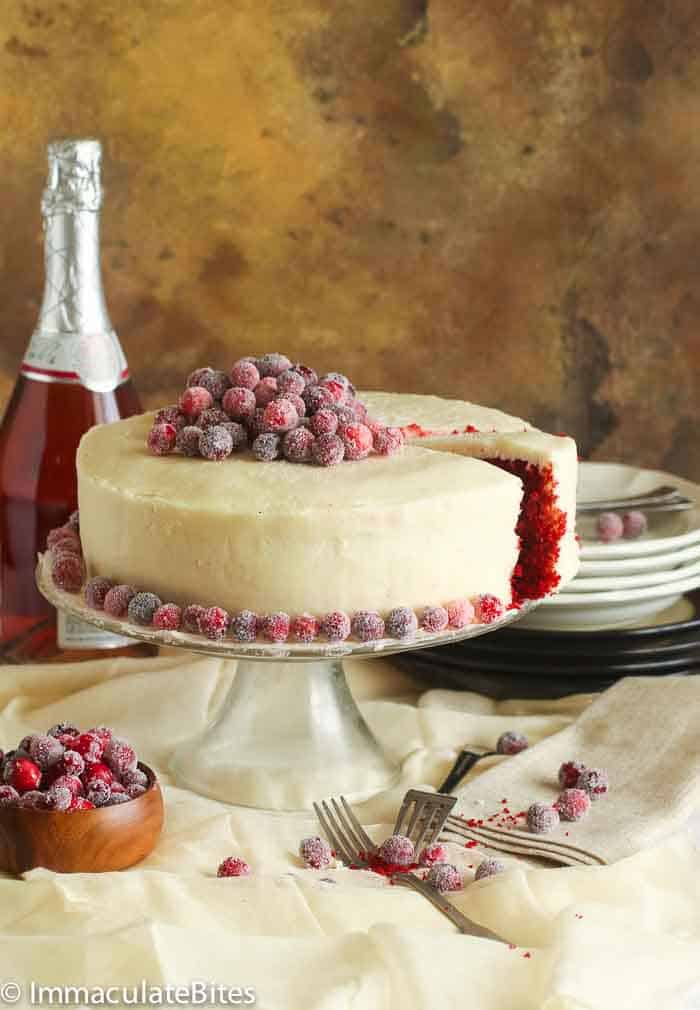
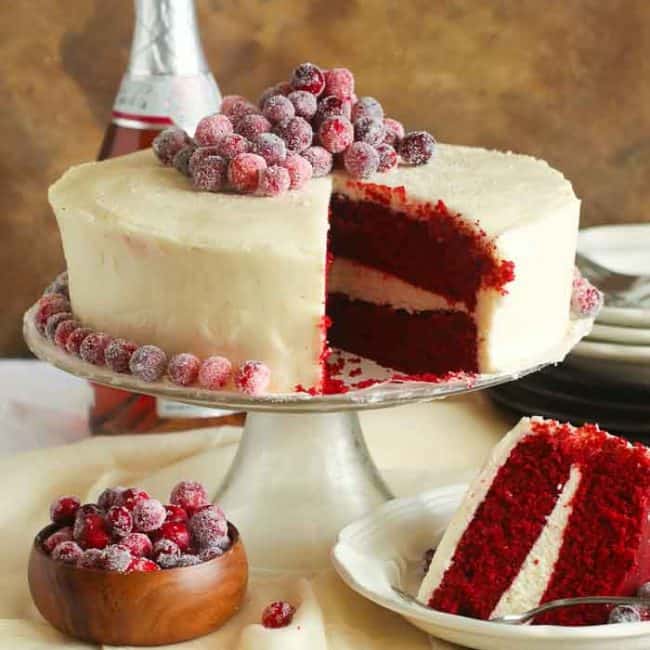
Red Velvet Cake – Tender, buttery, and topped with fluffy cream cheese frosting, this exquisiteness delights the eyes and taste buds! The hint of chocolate and vanilla pair perfectly with the sweet and tangy frosting. And this cake is nothing if not dramatic; tall, beautiful, and vibrantly red, a total showstopper!
When I was growing up, red velvet cake was a novelty because we had never seen anything like it in Cameroon. I remember my Auntie carefully measuring the ingredients and the smell of chocolatey vanilla perfection filling the house. I would watch as she whipped up the exquisitely creamy frosting, and together, we slathered it onto the cake.
But the best part was seeing our guests’ eyes light up when we presented our decadent dessert! To this day, this festive, eye-catching beauty is one of my favorite desserts for special events. With its velvety texture and striking appearance, it’s guaranteed to impress!
What Makes Red Velvet Cake Red?
In the past, it was made with non-Dutch process cocoa. A chemical reaction between the cocoa powder, vinegar, and buttermilk caused the cake’s distinctive color. Nowadays, most bakers use food coloring to get that rich red hue.
Recipe Ingredients
Cake
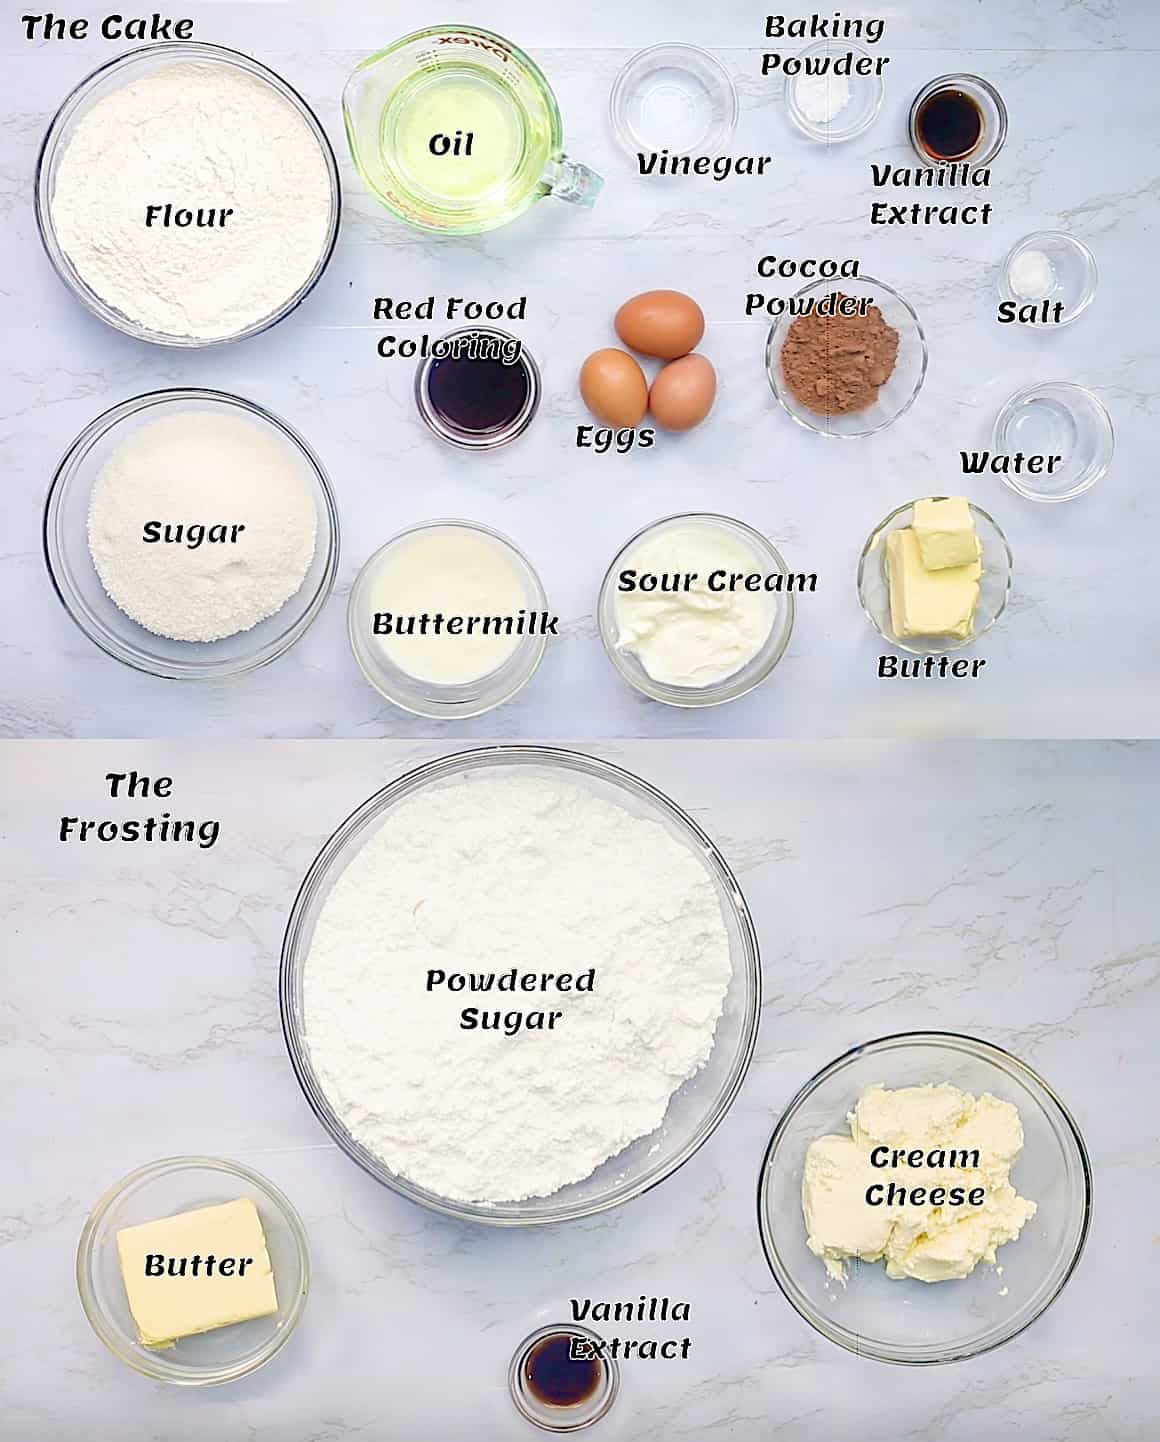
- Dry Ingredients – Cake flour, cocoa powder, and baking soda are the cake’s base for a dense and mouthwatering dessert. I’ve not tried it yet, but I’m sure your favorite gluten-free cake flour will work too.
- Wet Ingredients – Butter and oil make this spectacular cake moist and buttery. Then sour cream, buttermilk, and vinegar make this cake extra rich and dense. And the acidity activates the baking soda for a good rise. But if you don’t have buttermilk, check out how to make your own buttermilk.
- Eggs –The perfect binder to hold it all together. But bring them to room temperature for best results.
- Vanilla – A warm, cozy flavor layer.
- Food Coloring – Gel food coloring works best for vibrant colors.
Frosting
- Cream Cheese and Butter – Cream cheese is decadently creamy for an excellent frosting (so much better than vegetable shortening). The butter softens the cream cheese to make it more spreadable while adding buttery goodness.
- Vanilla – A touch of warm flavor to enhance the frosting.
- Powdered Sugar – Sweeten up your frosting with this ingredient for extra creamy decadence because it dissolves better than granulated sugar.
How to Make Red Velvet Cake
Make the Cake
- Preheat oven to 350℉/177℃. Grease two 9-inch round baking pans with baking spray, line them with parchment paper if desired, and set aside.
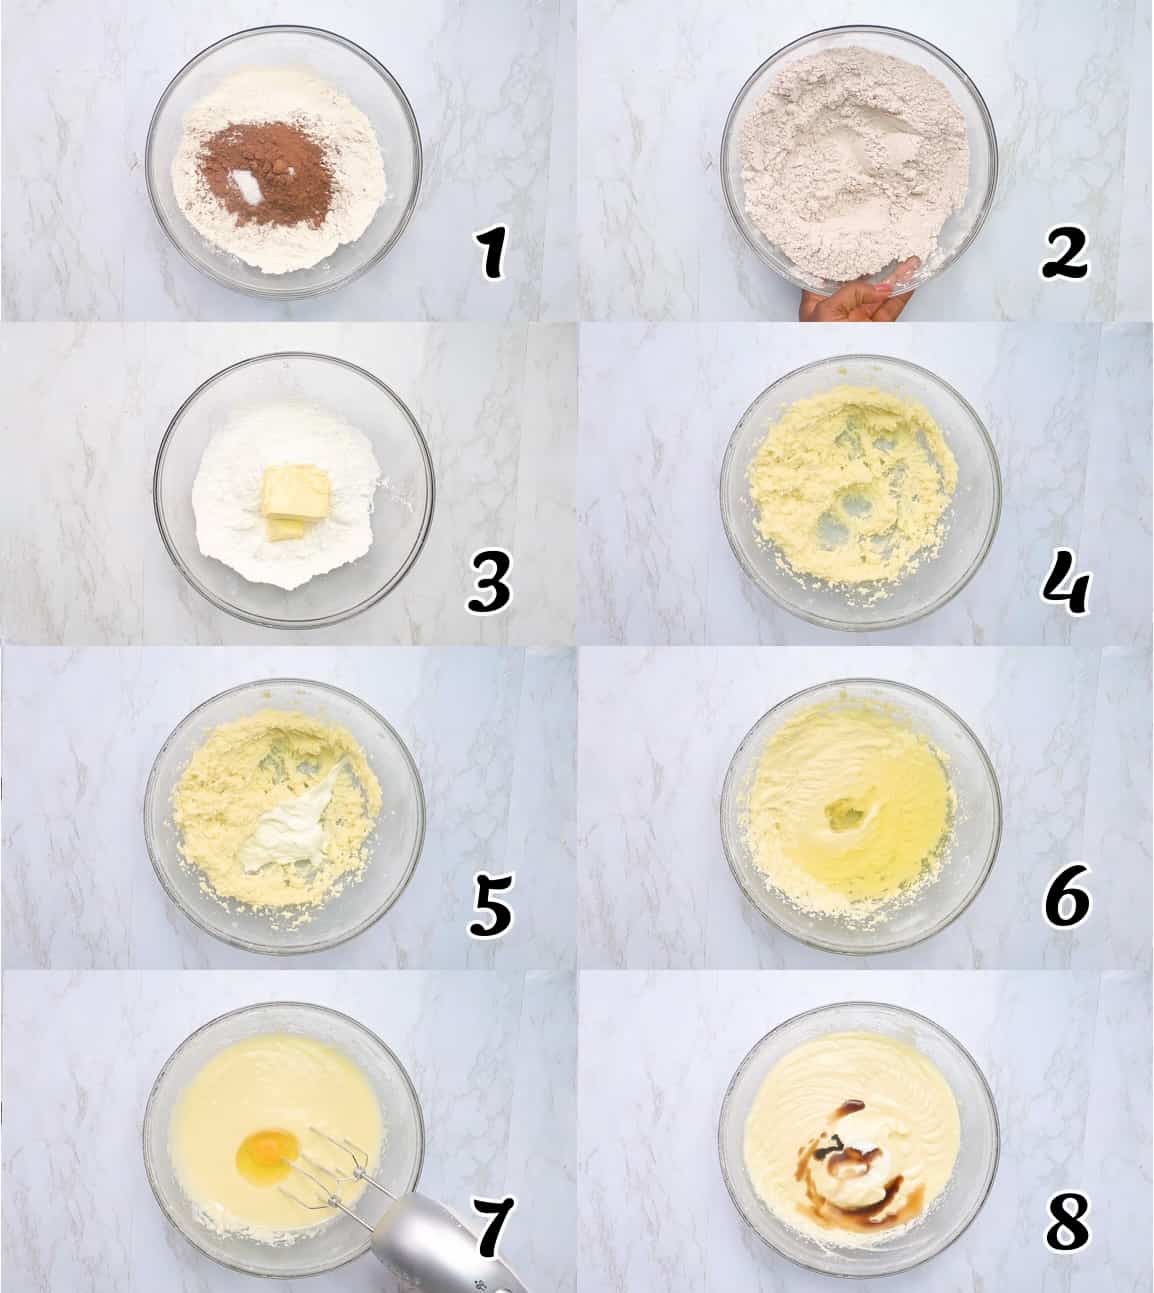
- Combine Dry Ingredients – In a medium bowl, combine flour, salt, and cocoa powder. Set aside.
- Mix Wet Ingredients – Cream the butter and sugar at high speed in a stand mixer until it’s fluffy and starts to look white, about 4 minutes, then add sour cream. Mix thoroughly for another minute. Followed by the oil – then mix for another minute.
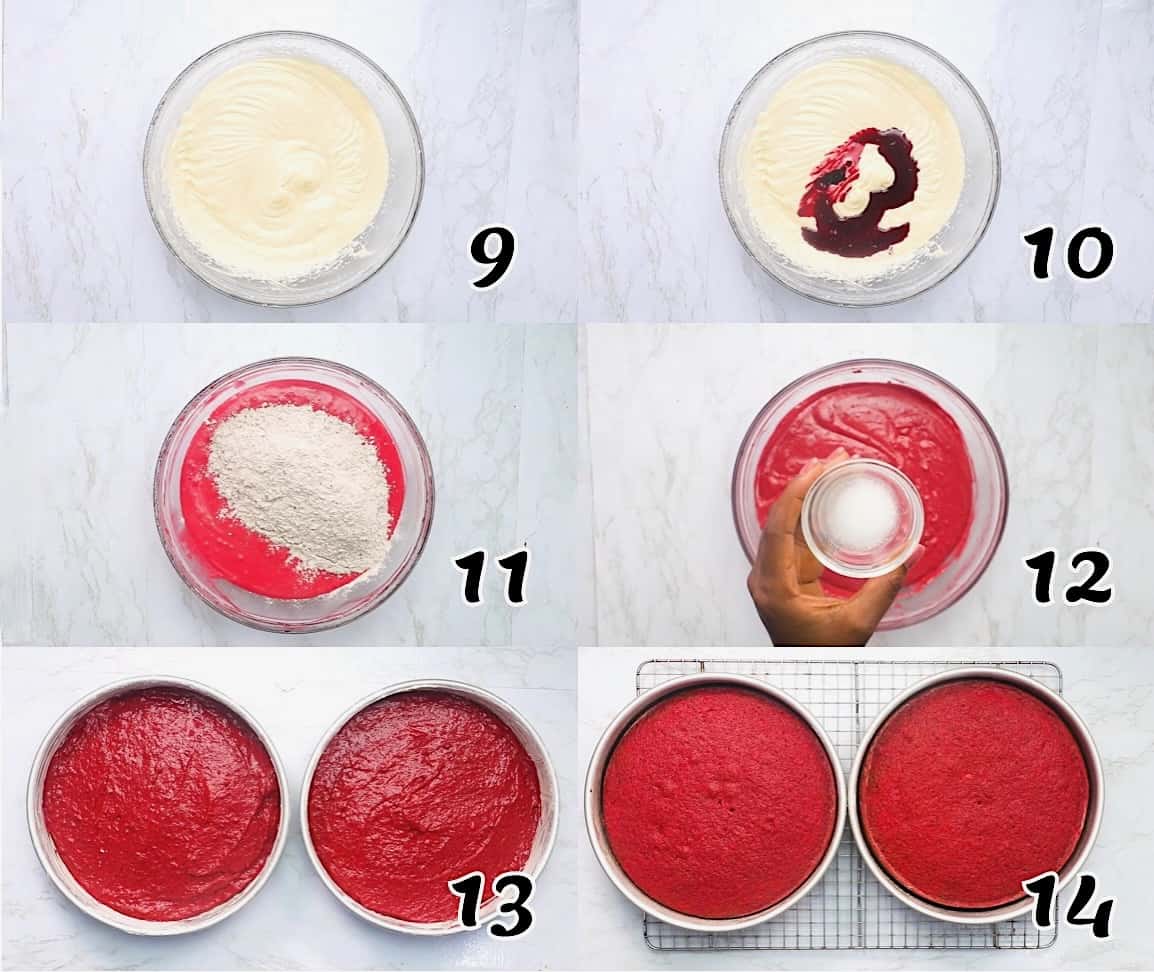
- Add Eggs one at a time, beating the mixture well between each addition. Next, add the vanilla, vinegar, and buttermilk, and then mix thoroughly.
- Create the Color – Add food coloring until you reach the desired color.
- Combine Dry and Wet Ingredients– Slowly add flour mixture into the batter.
- Leavening – Mix baking soda and water and gently fold them into the cake batter. Scrape down the sides of the mixing bowl.
- Divide the batter evenly between the two pans, then tap them on the countertop to release bubbles. Bake at 350℉/177℃ for 25-30 minutes or until a toothpick inserted in the cake comes out clean.
- Cool – Let the cakes sit in their pans for 10- 15 minutes. Then gently place the cakes on a wire rack and invert, lifting off the pan. Once the cakes have completely cooled, wrap them in plastic paper and put them in the fridge for an hour minimum (preferably overnight).
Cream Cheese Frosting
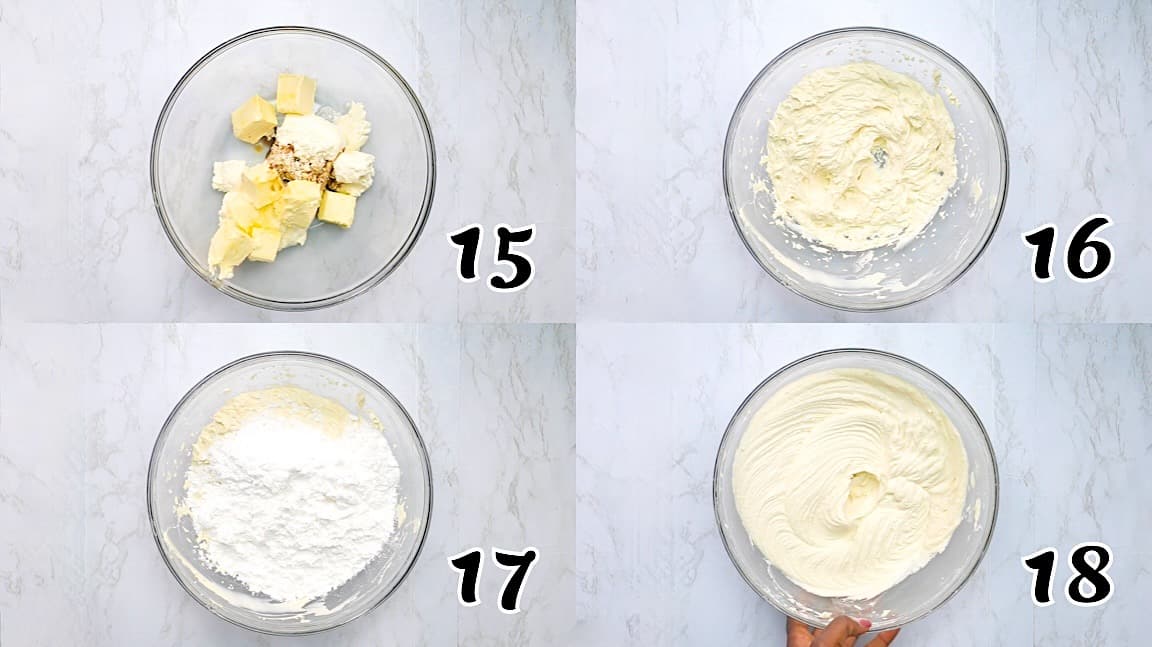
- The Frosting – Whisk cream cheese, butter, and vanilla until creamy. You can use a mixer if desired. Gradually sieve in the powdered sugar, mixing as you go until smooth.
- Assembly – Place one cake layer on a serving platter. Spread about 1½ cups of cream cheese frosting over the first cake layer.
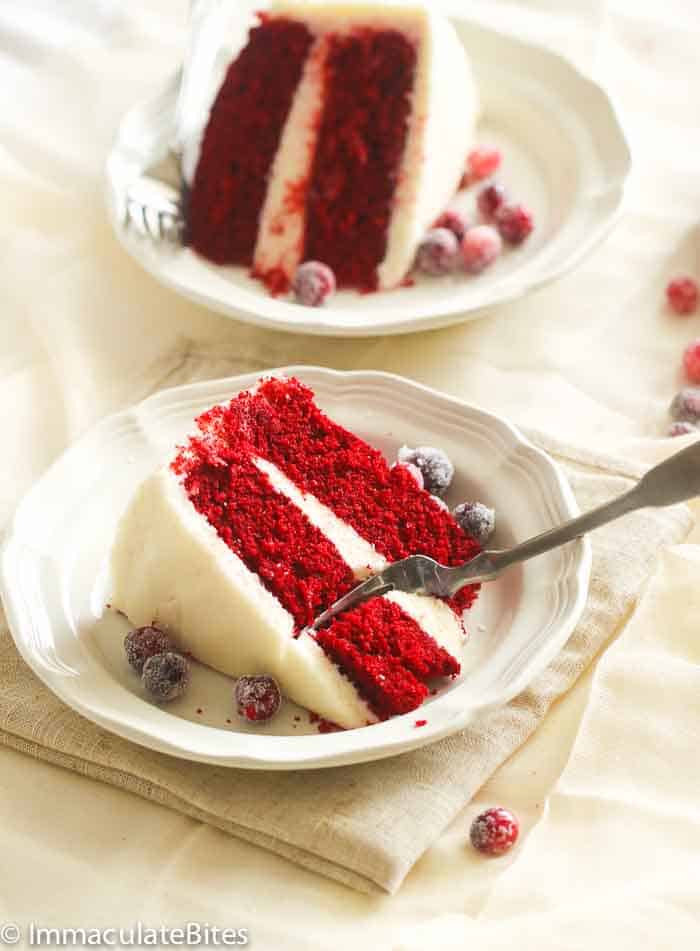
- Final Stretch – Top with the second layer, and spread the remaining frosting over the top and sides of the cake. Garnish with candied cranberries, if desired.
Recipe Variations
- A spoonful of instant espresso powder in the cake batter will enhance the chocolate and give this red velvet cake an extra pop of flavor. (You won’t taste the coffee.)
- If you prefer a slightly fruity flavor, try adding some strawberry puree to the batter!
- Instead of artificial food coloring, beet powder or pomegranate powder will also make the cake distinctively red. However, it’s good to do a taste test since some powders may affect the flavor of the cake.
- Give your dessert table a twist with red velvet cupcakes! Fill cupcake liners approximately ½ of the way full of the batter and cook for approximately 20 minutes.
Tips and Tricks
- If you can’t find cake flour, you can use an all-purpose flour and cornstarch substitute. Measure 2½ cups of all-purpose flour, then replace 5 tablespoons with 5 tablespoons of cornstarch.
- Please make sure your ingredients are at room temperature before you start mixing, so you’ll have the best texture possible.
- Since the cakes are so moist, it is preferable that once cool, you wrap them up tightly and place them in the fridge overnight before stacking them.
- If you’re planning on piping your cream cheese frosting on the cake, chill it in the refrigerator for 20 minutes. This guarantees the creamy frosting will hold its shape.
Make-Ahead Instructions
This is a great make-ahead dessert! You can prep the cake layers, let them cool, and store them in the fridge overnight. You can also prepare the frosting the day before. Then just let everything come to room temperature before assembling.
Alternatively, refrigerate a frosted red velvet cake overnight (cover it lightly with plastic wrap), and then let it come to room temperature when you’re ready to enjoy.
Serving and Storage Instructions
This incredible cake is definitely better when you have time to let it set up. Room temperature enables you to savor all that wonderful sweetness, but cold is also good. Feel free to freeze the assembled cake or individual slices for future sweet cravings! Make sure to wrap them in plastic, then freeze them for three months.
I’ve never tested this theory because this cake is always gone too fast. But it should stay good in the fridge for five days. No, I’m sorry, the cream cheese frosting makes it a bad idea to store it at room temperature.
FAQs
The flavor profile is complex and layered. You get sweet, buttery, warm flavors from vanilla, butter, and sugar. There is a mild chocolate flavor from the cocoa powder, and the tanginess of the cream cheese frosting tops it off.
One possible reason is due to accidentally using too much baking soda. Another reason could be that some brands of food coloring are slightly bitter, so switching brands may eliminate the bitterness.
Gel food coloring usually has the best results because it’s more potent than liquid. You can use less and get the same fantastic color!
What to Serve With Red Velvet Cake
Decadent desserts deserve fancy beverages! Chai tea latte and blended Thai iced coffee are my faves! But it’s also the perfect ending to Southern baked mac and cheese and yellow squash casserole.
More Showstopping Cake Recipes to Try
- Black Forest Cake
- Angel Food Cake
- Victoria Sponge Cake
- Chocolate-Mayonnaise Cake
- Buttermilk Pound Cake
Conclusion
Mouthwateringly delicious and visually appealing, this iconic dessert is perfect for any celebration! On what occasions do you crave red velvet cake? Let me know in the comments!
[adthrive-in-post-video-player video-id=”zo1QRliL” upload-date=”2019-09-18T07:40:38.000Z” name=”Red Velvet Cake” description=”Red Velvet Cake – an elegant and moist layered cake baked from scratch with a chocolate buttery cake tinted red. An iconic cake with great texture, flavors and frosting!”]
This blog post was originally published in December 2017 and has been updated with additional tips, new photos, and a video.
Red Velvet Cake
Ingredients
Red Velvet Cake
- 2½ cups (295g) cake flour, sifted
- ½ teaspoon salt
- 3 tablespoons (23g) cocoa powder, regular or Dutch-processed
- ½ cup (113g) unsalted butter at room temperature
- 1½ cups (300g) granulated white sugar
- ½ cup (120g) sour cream
- ¾ cup (175ml) oil
- 3 large eggs
- ½ cup (120ml) buttermilk
- 1 tablespoon (15ml) vinegar
- 2 teaspoons (30ml) vanilla extract
- 2 tablespoons (90ml) liquid red food coloring
- 1 teaspoon (6g) baking soda
- 2 teaspoons (30ml) water
Cream Cheese Frosting (double to completely frost cake)
- 8 ounces (225g) cream cheese at room temperature
- 4 ounces (113g) unsalted butter at room temperature
- 1 teaspoon (15ml) vanilla extract
- 4-6 cups (480-720g) powdered sugar
Instructions
Red Velvet Cake
- In a medium bowl, combine flour, salt, and cocoa powder. Set aside.
- Preheat oven to 350℉ (180℃). Grease two round 9-inch cake pans with baking spray. Line with parchment paper if desired, set aside.
- Cream the butter and sugar at high speed in a stand mixer until it’s fluffy and looks white (about 4 minutes). Then add sour cream and mix for another minute. Follow with the oil, and mix for another minute.
- Add eggs, one at a time, beating the mixture well between each addition.
- Next, add the buttermilk, vinegar, and vanilla and thoroughly mix.
- Add the red food coloring until the desired color has been reached.
- Slowly add the flour and cocoa powder mixture to the batter. Mix baking soda and water and gently fold into the cake batter, scraping down the sides of the mixing bowl as you mix.
- Divide the batter evenly between the two pans, and tap on the countertop to release bubbles.
- Bake at 350℉ (180℃) for 25-30 minutes or until a toothpick inserted in the cake comes out clean.
- Let the cakes sit in their pans for 10-15 minutes. Gently invert the cake pans on a wire rack, lifting off the pan and releasing the cakes.
- Once the cakes have completely cooled, wrap them in plastic paper and place them in the refrigerator for at least an hour (preferably overnight) so it's easier to frost.
Cream Cheese Frosting
- Whisk cream cheese, butter, and vanilla until creamy with a hand or stand mixer.
- Gradually sift in the powdered sugar, mixing as you go until smooth.
Assembling the Cake
- Place one cake layer on a serving platter. Spread about 1½ cups of cream cheese frosting over the cake layer.
- Top with the remaining cake layer. Spread the remaining frosting over the top. If you doubled the recipe, frost the sides of the cake as well. Garnish with candied cranberries if desired.
Tips & Notes:
- Cake flour produces a lighter and soft crumb texture, but you can use sifted all-purpose flour.
- To substitute buttermilk, add a teaspoon of fresh lemon juice or white vinegar to a measuring cup and add enough regular milk to make ½ cup. Stir and let it sit for 5 minutes.
- You may prep the cakes and frosting a day in advance. Store them in the fridge overnight and let the cream cheese frosting come to room temperature before frosting the cake.
- To avoid overbaking, check the cake at 25 minutes.
- The cakes are really moist, so they assemble easier when cold.
- Someone asked me what brand of cream cheese I use. I usually use Philadelphia, but any brand of cream cheese or even Neufchatel works fine.
- Please keep in mind that nutritional information is a rough estimate and can vary greatly based on products used.


Hi Imma,
Thank you for this wonderful recipe!
On the print recipe screen, can you please add an option to switch the measurements to metric from US customary? When I increase the number of servings, only the cups measurement updates, not the grams measurement in brackets.
Many thanks!
Thank you for the feedback, Ola. Will correct that.
Hi Imma,
I hope you’re doing well and Christmas-ready!
As much as I love this recipe, I struggle with its user-friendliness. Per my last comment, when adjusting the number of servings, only the Cups measurements change; the Grams in brackets do not update. As I’m sure a lot of people, myself included, measure with scales rather than cups, it’ll be extremely useful if the Grams also change when you increase or decrease the number of servings. I hope that this is a change that you can make. Thanking you in advance!
Ola
Hi Ola. I’m so sorry. I’ve tried fixing it, but at this time, the option to have both styles of measurements change isn’t available. I use the calculator on my phone when adjusting metric measurements.