Hawaiian Sweet Rolls
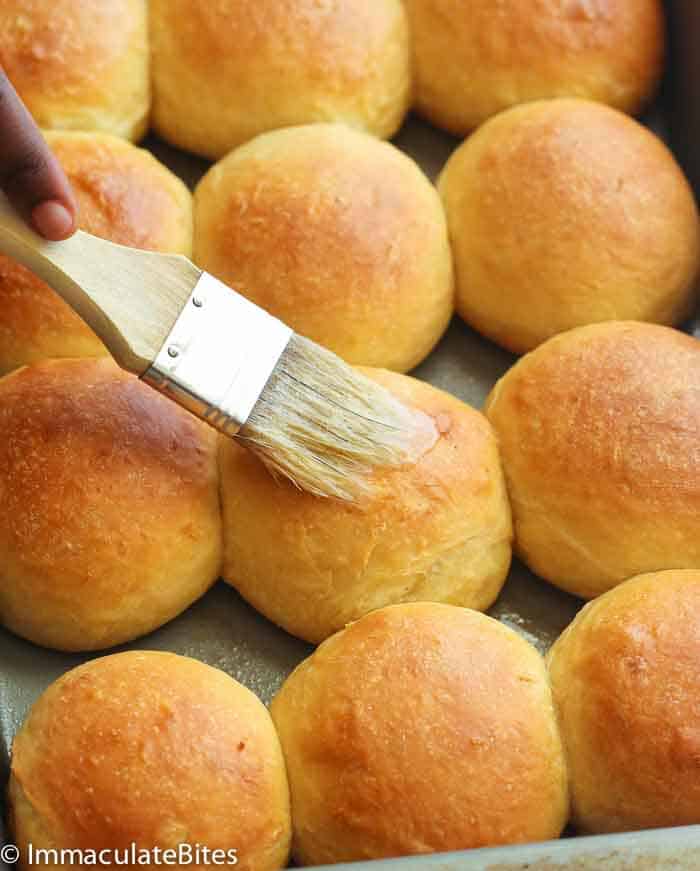
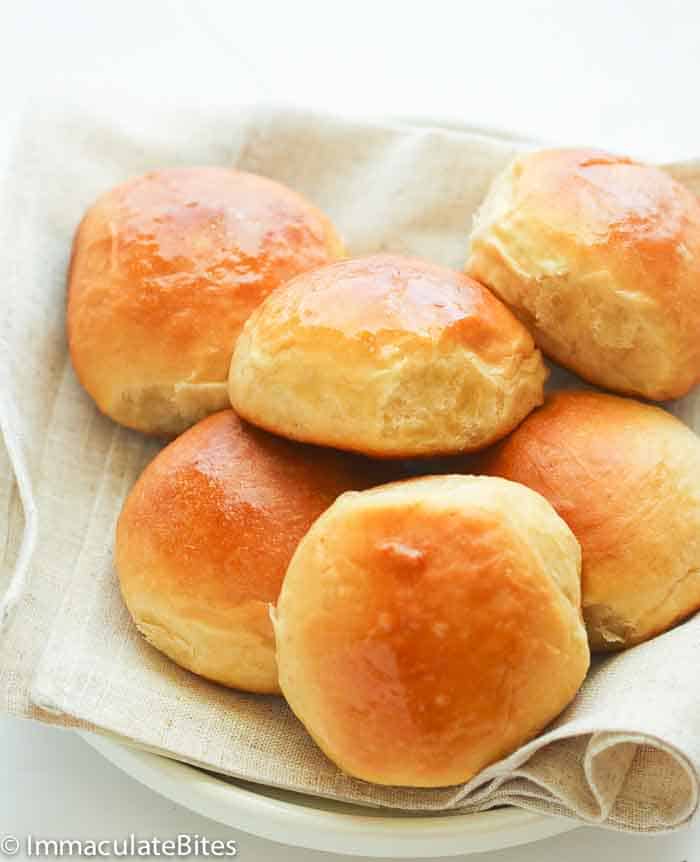
After you make these soft, fluffy Hawaiian sweet rolls, you’ll never go back to the store-bought version. They deliver a kick of tropical sweetness from pineapple, melt-in-your-mouth buttery goodness, and a perfectly baked golden crust.
There’s not much I love more than the aroma of baking bread. Add the tropical twist of pineapple and a little sweetness, and I’m in heaven.
Bread rolls are definitely my favorite part of dining out. Sometimes, I skip the main course and just eat the delicious, fresh-baked buns until I’m stuffed. It may not be good for my waistline, but I can’t help it! You understand, right?

Giving Sweet Rolls a Hawaiian Twist
Hawaiian sweet rolls are light, buttery, and slightly sweet dinner rolls with pineapple for a fantastic tropical twist. Most recipes call for pineapple juice and milk, but quite a few have crushed pineapple.
I prefer the latter; trust me, the hint of pineapple adds a mouthwatering touch you won’t want to miss. To create these Hawaiian sweet rolls, I added pineapple and brown sugar to my already trusted milk bread recipe.
How to Make Hawaiian Sweet Rolls
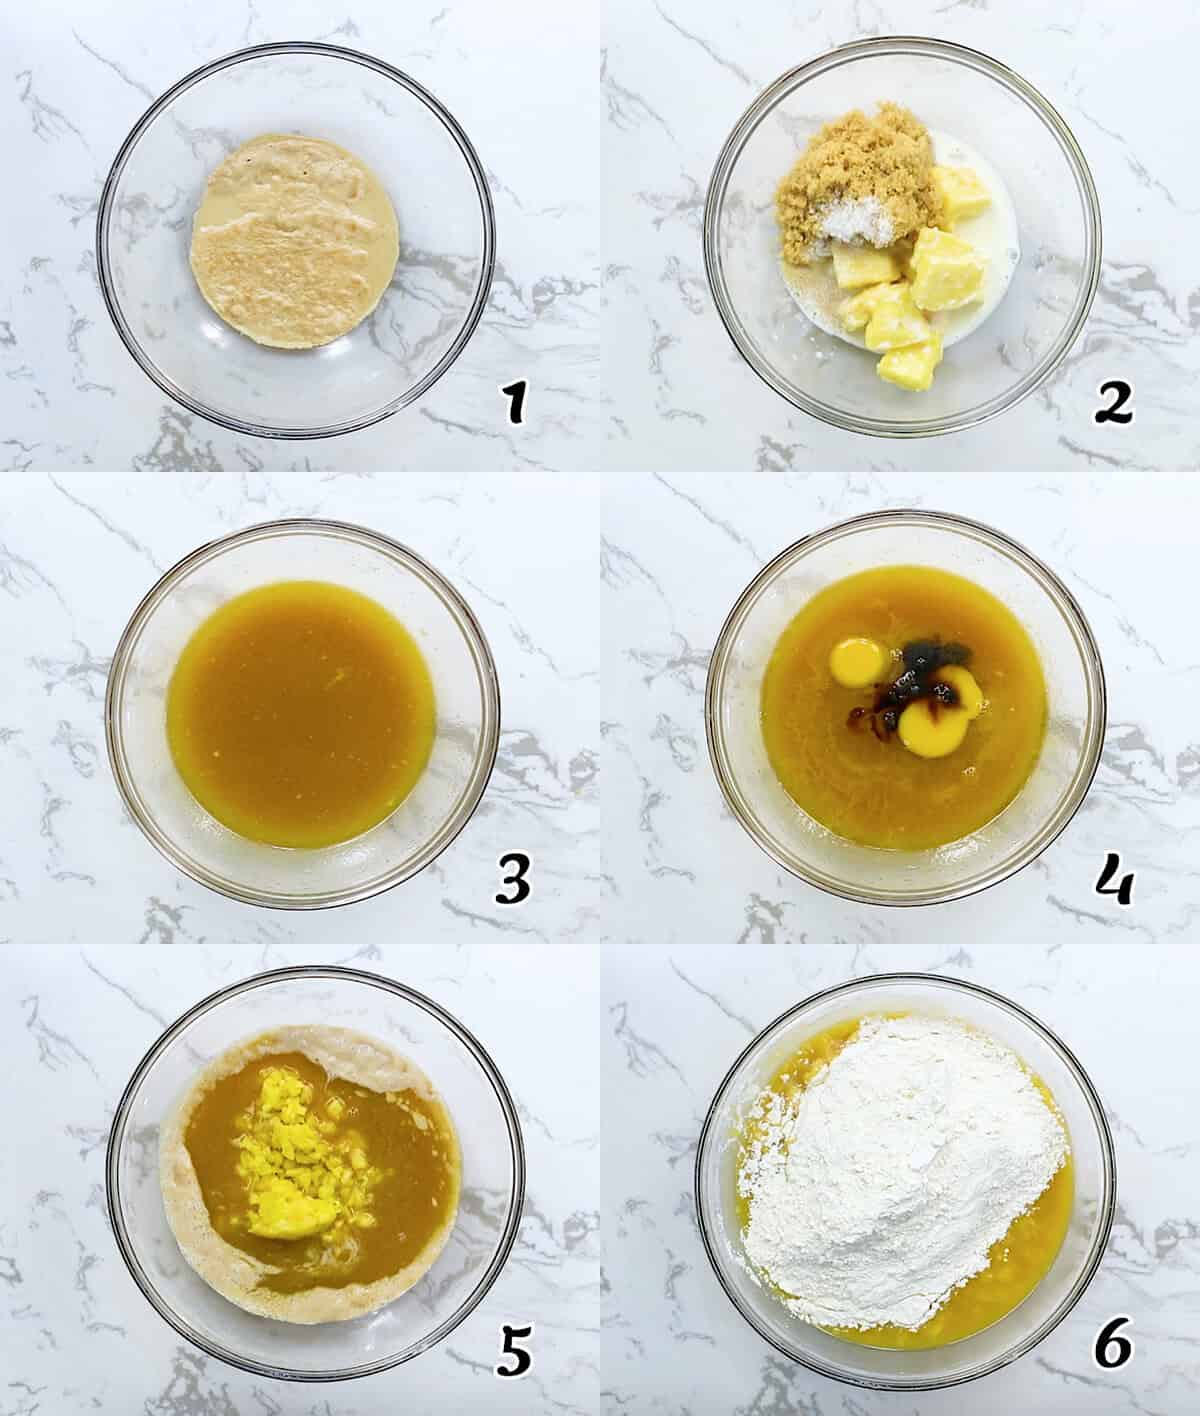
- Activate the yeast with lukewarm water in a stand mixer (or large mixing bowl). (Photo 1)
- Heat the milk, butter pieces, sugar, and salt in a medium microwave-safe bowl for a few seconds, and stir. Repeat until the butter melts. If the mixture is over 115℉ (45℃), let it cool so it doesn’t kill the yeast and curdle the eggs. (Photos 2-3)
- Whisk the eggs and vanilla extract, then add them to the butter mixture, and dump everything into the yeast mixture. (Photo 4)
- Add the pineapple and mix on medium-high using a dough hook until thoroughly combined. (Photo 5)
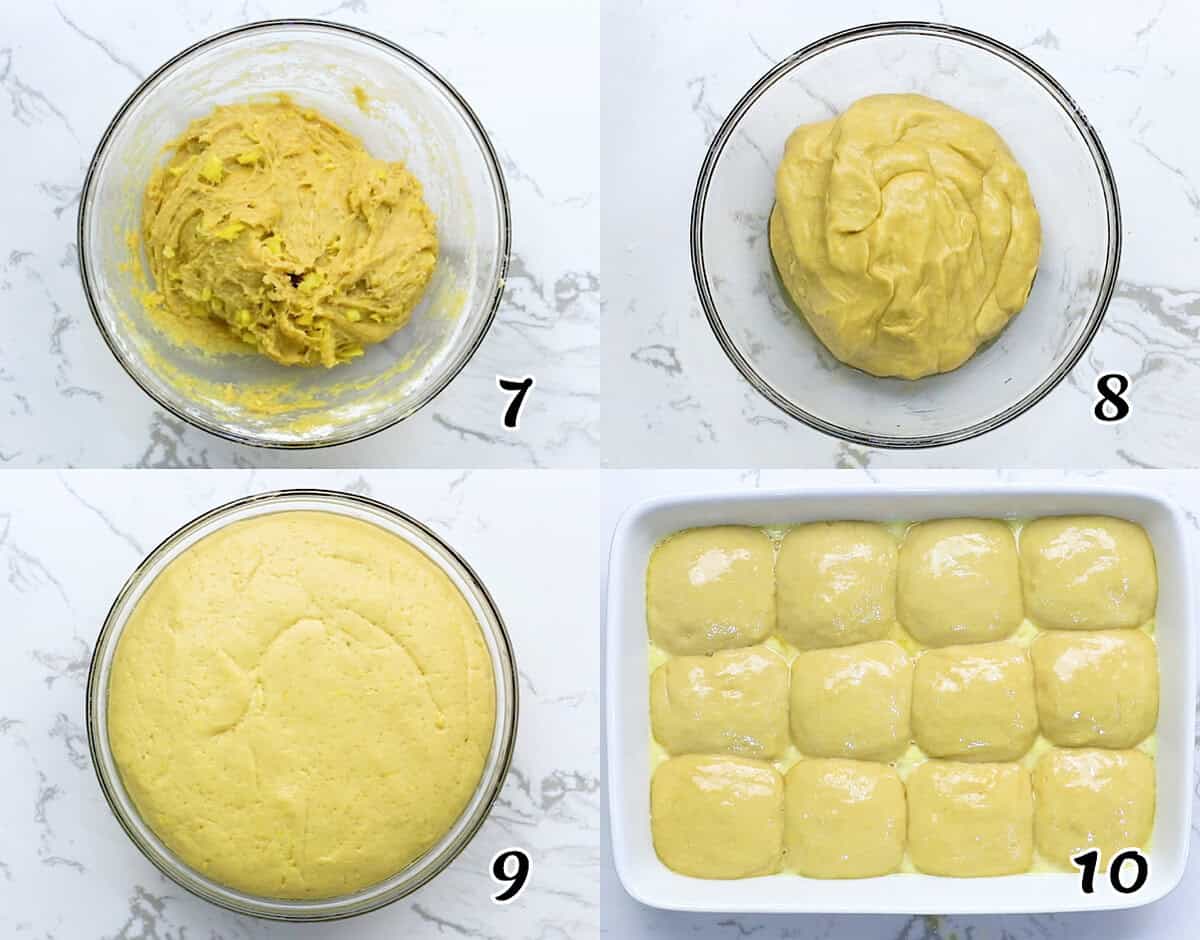
- Mix in 3½ cups of bread flour, and continue mixing for about 8 minutes. Stop kneading when the dough pulls away from the sides of the bowl. If the dough is too sticky, add one tablespoon at a time until it reaches the right texture. It should be soft and slightly sticky, but not stiff. Feel free to knead by hand if you don’t have a stand mixer. (Photos 6-7)
- Let the dough rise in a warm, draft-free place for 1½-2 hours or until doubled in size. Then punch it down. (Photos 8-9)
- Divide the dough into 12 equally-sized pieces and shape them into balls. Place them in a greased 12-inch round pan. Or you can make a loaf of bread by shaping the dough into a log and settling it seam-side down into a greased loaf pan. (Photo 10)
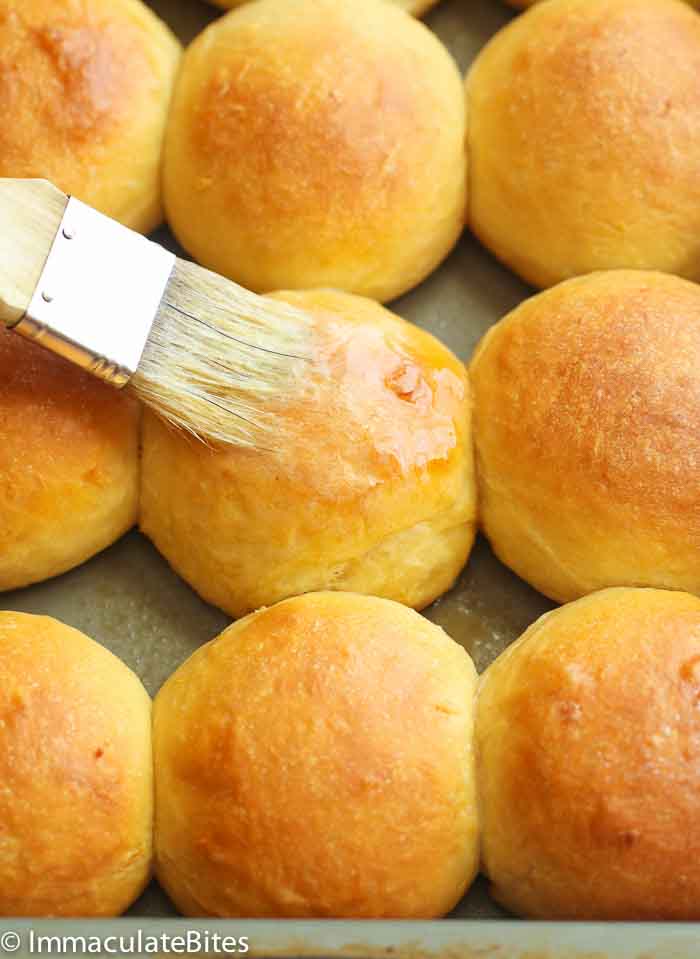
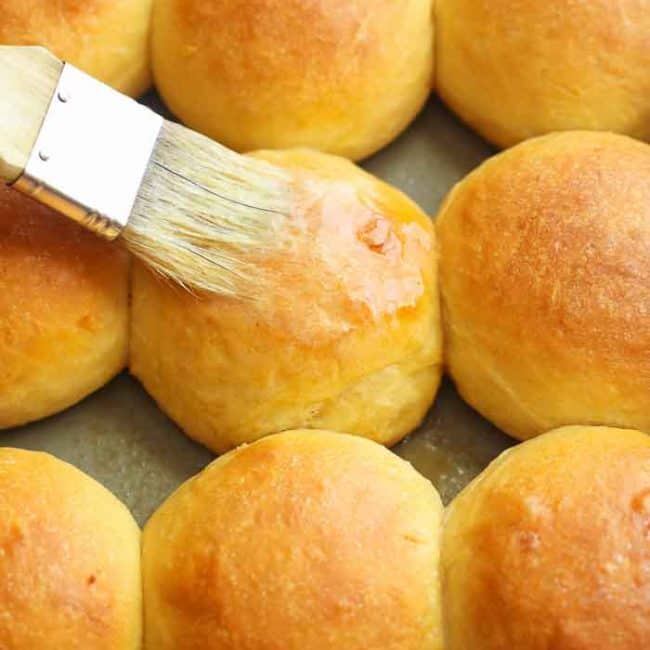
- Whisk the milk and egg yolk, then brush the rolls or bread with the egg wash. Cover them with a clean towel and let them rise until doubled in size.
- Bake in a preheated 350℉ (175℃) oven until the crust is deep golden brown, and they sound hollow when tapped (about 20 minutes). Remove from the pan and let cool for about 30 minutes.
Proofing Tips (Very Important)
- Use warm milk at 105–115°F (40-46℃).
- If the kitchen is cold, place the dough in the oven with the light on, or set the bowl over slightly warm water.
- The first rise should take 1½-2 hours, not long like 6 hours. The dough should look puffy and doubled.
- Fast-rise yeast works great for same-day rolls. However, if you have time to refrigerate the dough overnight, it slows the rise and develops more complex flavors.
- For light, fluffy bread, be patient and let it rise until it doubles in size. Taking longer to rise on cool days and less on warm, humid days is perfectly normal.
Recipe Twists and Tips
- Instead of egg wash, brush melted butter on the rolls and sprinkle with brown sugar and ground cinnamon before baking for a fantastic dessert.
- Add chopped ham and grated mozzarella to the dough for Hawaiian pizza vibes.
- Because pineapple, milk, egg size, humidity, and flour brands all affect hydration, the baker needs to feel the dough to get the right consistency. The dough should feel slightly tacky and soft, not stiff.
Make-Ahead and Storage Instructions
I love making a double or triple batch of these rolls. They freeze great for 2-3 months in an airtight ziplock bag, and heating them back up in the oven for 5-10 minutes brings back all the freshness. They last a week in the fridge (properly stored) and 2-3 days in a bread bin at room temperature.
You can also freeze or refrigerate the dough, and when ready for fresh-baked bread, thaw it, knead it, make the rolls, and bake.
What to Serve With Hawaiian Sweet Rolls
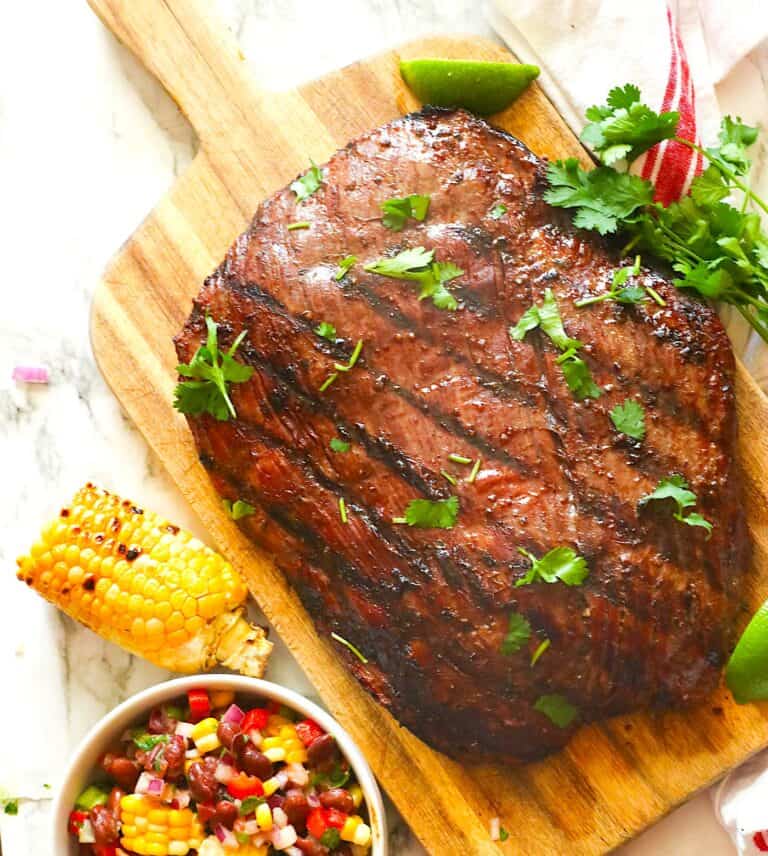
Pair these delicate rolls with sweet potato soup or carrot ginger soup for a cozy, hearty weeknight meal. You can also pile on pulled pork for a quick and tasty lunchtime sandwich.
More Divine Yeast Bread Recipes to Try
By Imma
Watch How to Make It
[adthrive-in-post-video-player video-id=”iSCHj7m3″ upload-date=”Mon Aug 06 2018 20:36:18 GMT+0000 (Coordinated Universal Time)” name=”Hawaiian Sweet Rolls” description=”Hawaiian Sweet Rolls – Fresh and warm Hawaiian rolls; buns that have a kick of sweetness from the pineapple juice, brushed with butter and baked to perfection. You are never going to buy store bought version again.”]
>
This blog post was originally published in March 2017 and has been updated with additional tips, new photos, and a video.
Hawaiian Sweet Rolls
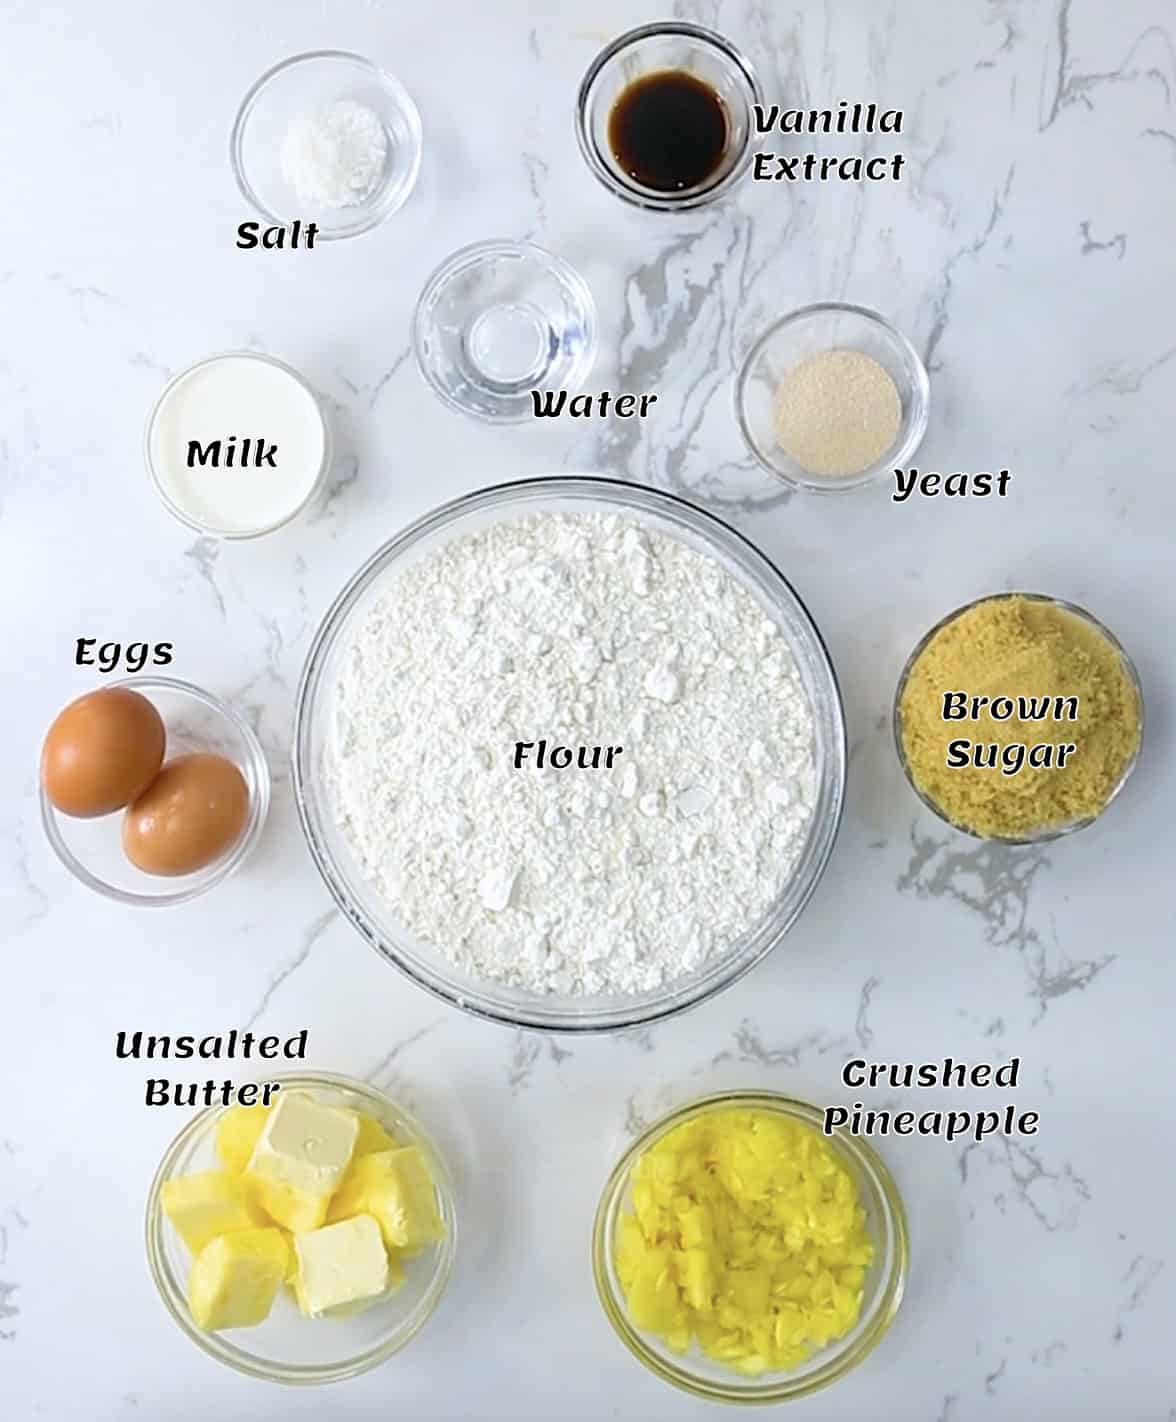
Ingredients
- 1 tablespoon (9g) active dry yeast (see notes about yeast)
- 2 tablespoons (30ml) warm water (105-115℉/40-45℃)
- ¼ cup (60ml) milk (105-115℉/40-45℃)
- ¾ cup (150g) brown sugar
- 6 ounces (170g) unsalted butter
- 1 teaspoon (6g) salt
- 2 large eggs
- 1½ teaspoons (8ml) vanilla extract
- ¾ cup (170g) crushed pineapple, drained
- 3½ cups (420g) flour (bread or all-purpose flour) plus more as needed (see notes)
Egg Wash (for brushing top)
- 1 large egg yolk
- 2 tablespoons (30ml) milk
Instructions
- In a stand mixer, combine 2 tablespoons of lukewarm water and the yeast. Mix well and let sit until dissolved for about 5 minutes.
- Meanwhile, combine milk, butter pieces, sugar, and salt in a medium microwave-safe bowl. Heat in the microwave for a few seconds, and stir. Repeat until the butter melts. If the mixture is over 115℉ (45℃), let it cool so it doesn't kill the yeast and curdle the eggs.
- Lightly whisk the eggs and vanilla extract, then add them to the butter mixture. Dump everything into the yeast mixture.
- Add the pineapple, and mix on medium-high using a dough hook until well combined. You can also mix and knead by hand.
- Then add 3½ cups of flour and mix the dough for about 8 minutes or until it pulls away from the sides of the bowl. Or turn the dough out onto a lightly floured surface and knead by hand for 8-10 minutes. Add as little flour (a tablespoon at a time) as possible to make a soft dough.
- Place the dough in a large, greased bowl. Cover loosely with a clean cloth and let it rise in a warm, draft-free place for 1-2 hours or until doubled in size. Punch the dough down.
- Divide the dough into 12 equal pieces and shape them into balls. Place them in a greased 12-inch round pan. Or you can make bread by shaping the dough into a log and setting it seam-side down into a greased loaf pan.
- Whisk the milk and egg yolk, then brush the rolls or bread with the egg wash. Cover them with a clean kitchen towel and let rise for 2 hours. You can refrigerate for up to 24 hours; they will rise more slowly and taste amazing.
- Preheat the oven to 350℉ (180℃). Bake until the crust is deep golden brown and they sound hollow when tapped (about 20 minutes).
- Remove from the pan and let cool for about 30 minutes so the moisture redistributes, the steam escapes slowly, and the starches and gluten fully set.
Tips & Notes:
- Yeast should start foaming within a minute or two of adding the warm water. If it doesn’t, toss it and get fresh yeast.
- Make sure the water isn’t hot enough to kill the yeast. Dipping a clean finger in to check is a good hack if you don’t have a thermometer. If it feels hot, it’s probably too hot for the yeast. Anywhere between 95℉ (35℃) and 115℉ (45℃) will be fine.
- Instant yeast (SAF Gold or regular instant) is still the best yeast option because it balances:
- Good rise
- Complex flavor
- Better control over rising times
- Fast-rise, rapid-rise, and quick-rise yeast also works, but it rises very quickly, which means less flavor development. Dough that rises too fast can sometimes taste flat.
- After the 3½ cups of flour, add additional flour slowly, 1 tablespoon at a time, until the dough feels soft and slightly tacky, but not stiff. If the dough feels hard, dry, or tight, it won’t rise well.
- If your dough gets too stiff, knead in water a teaspoon at a time until it’s hydrated enough to be soft and slightly tacky.
- The slower rise from cold-proofing the dough overnight in the fridge allows it to develop more complex flavor and a better texture.
- Please remember that the nutritional information is a rough estimate and can vary significantly based on the products used in the recipe.


Hi Valerie, I don’t use the pineapple juice, just the pineapple chunks. And since all but the flour has already been mixed with the milk, I’ve never had an issue with it curdling. Hope that helps.
I love these rolls. I’ve been looking for a good sweet roll recipe & I think this is my favorite. Thank you so much!
Thank you so much, I am sure you would love all recipes once you try them. Keep loving:)
How do you keep the pineapple juice from curdling the milk?
I don’t know what is going on but I followed the measurements to a T but I have added at least 3 more cups of flour and it is still not becoming a dough I can handle. It is so sticky and gooeeeyy.
Hi Josh. Making bread is as much an art as a science. If the liquid measurements change by a tablespoon, it will affect how much flour you need. I’m glad you added more flour to get the right consistency. Another way to improve the stickiness of the dough is to knead it more. As the gluten develops, it will hold together better. Hope that helps.
I’ve made these twice, used brand new yeast and for some reason they turn out dense! Help!
Hi Arlandria! It may not have enough liquid, or too much, or not enough rising time. If the weather is cool it will needs more time to rise.
This sounds like a great recipe! Would you recommend bread or AP flour? I have both on hand and want to make it perfect. Thanks!
I would go with all purpose flour. It makes for softer rolls.
Enjoy!
Cant wait to try this out! Could i make it half bread flour and half apf?
Hello Kit! Yes, you can do it that way, but just make sure to knead and proof the bread until the dough has doubled in size. This will help give you a soft and light bread. Enjoy 🙂
Making these delish looking rolls now. I was wondering should these not raise again once shaped and put in the pans?
Thanks for your time.
Great! You can let it rise for 15-20 minutes before baking or at least until doubled in size. Enjoy!